NIKIMAT
 N    I    K    I    M    A    T

Amel Super Maramu 2000

Air Conditioning Climma Marine Compact 9

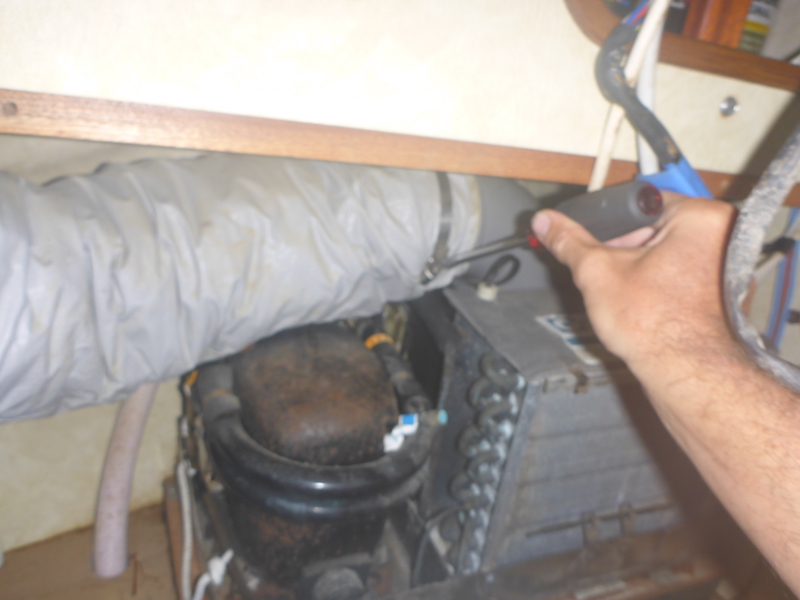
Disconnecting the air duct and cooling hoses of the Aft Climma Marine Compact 9

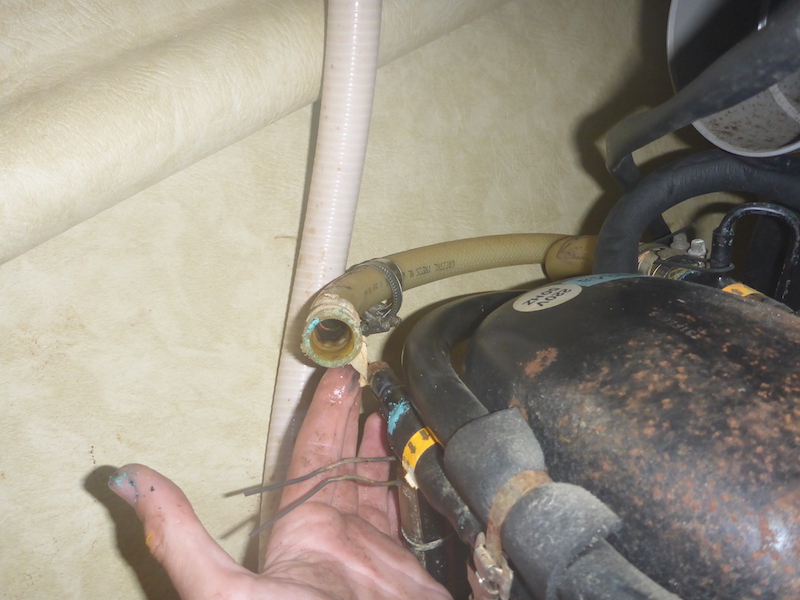
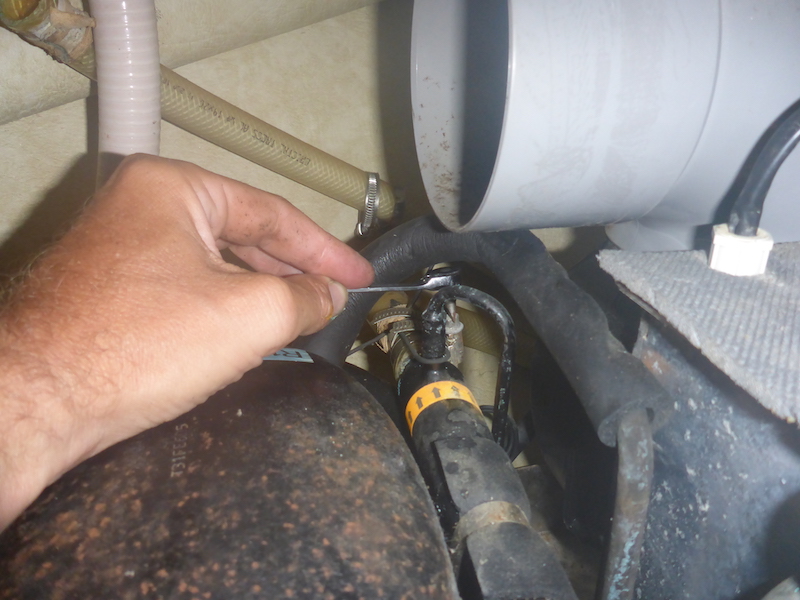
remove the clamp holding the hose
 Amel Super Maramu 2000 Air Conditioning Climma Marine Compact 9

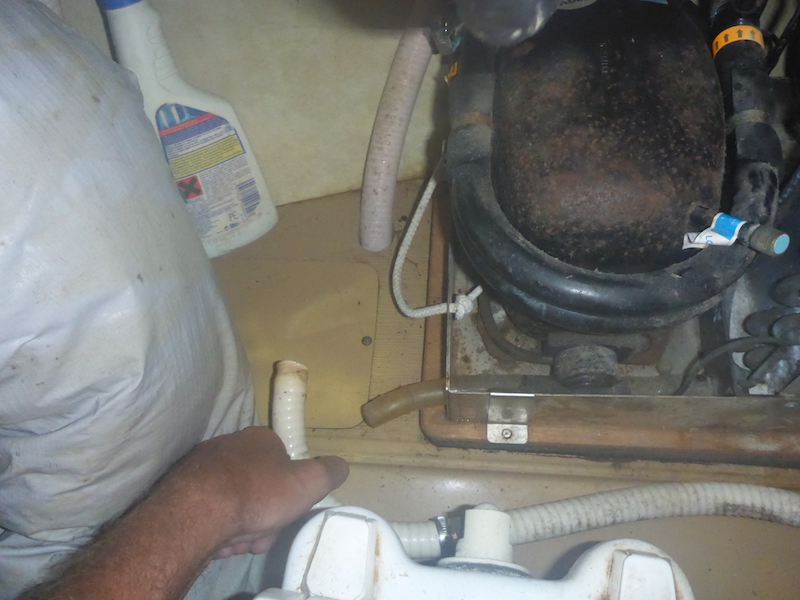
Removing the hose of the overflow (this was actually quite difficult)
 Amel Super Maramu 2000 Air Conditioning Climma Marine Compact 9

Remove the clip holding the cooling water to the compressor.
 Amel Super Maramu 2000 Air Conditioning Climma Marine Compact 9

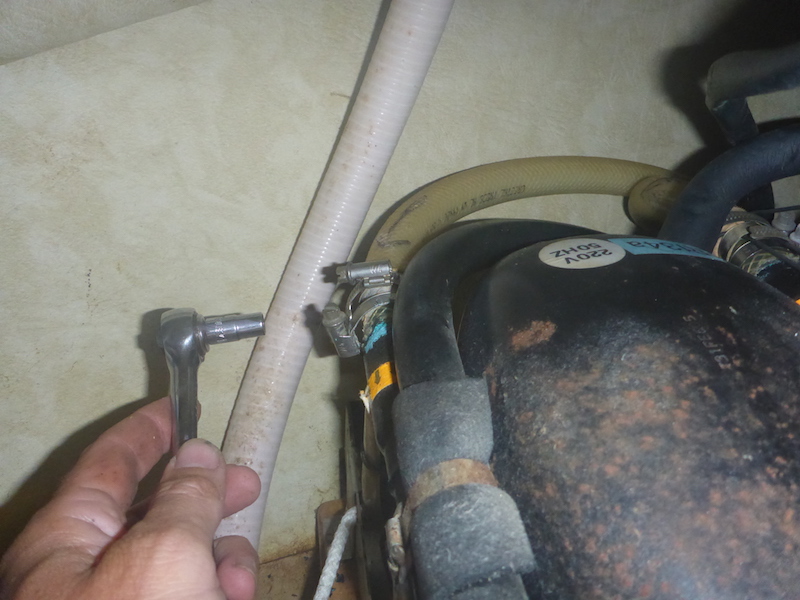
I realize how important are these clamp, should there be a failure water would fill up quickly in the boat from the calpeda pump.
They are two clamp and a metallic wire holding the second one
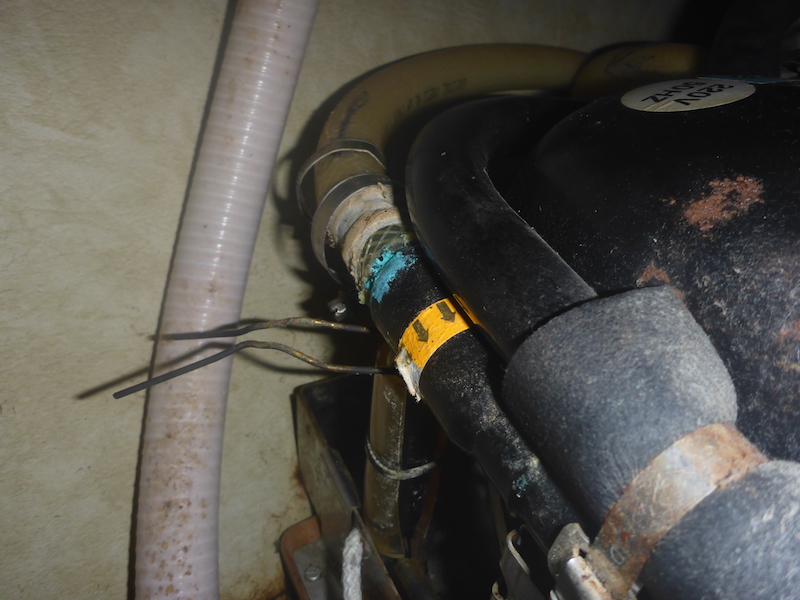
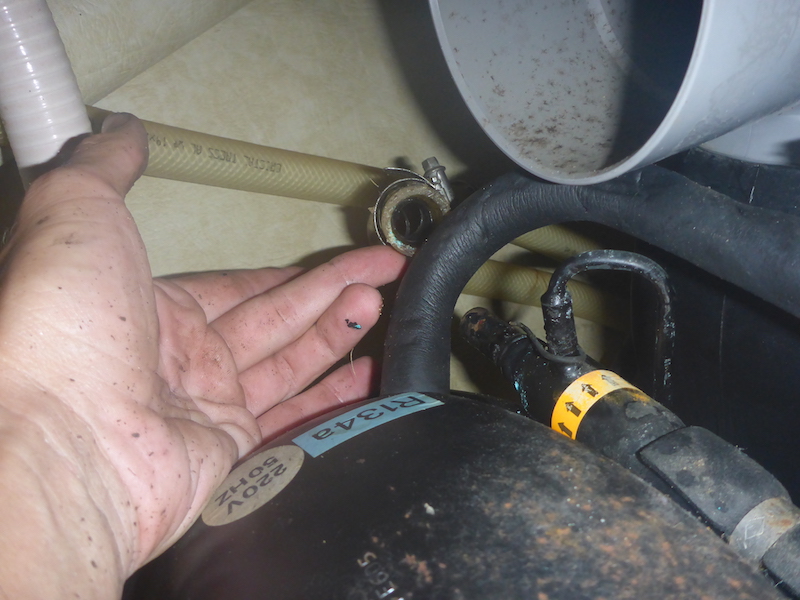
 Amel Super Maramu 2000 Air Conditioning Climma Marine Compact 9

Hose removed
 Amel Super Maramu 2000 Air Conditioning Climma Marine Compact 9

Same on the other side
 Amel Super Maramu 2000 Air Conditioning Climma Marine Compact 9

Hose removed
 Amel Super Maramu 2000 Air Conditioning Climma Marine Compact 9

Next: Part 6
Removing the thermostats and holding brackets

Removal Aft cabin Air Conditioning Climma Marine Compact 9

Part 1
Thermostats and control box removal

Part 2
Disconnecting the current and testing voltage

Part 3
Disconnecting the Fan and Compressor harnesses

Part 4
Disconnecting the Calpeda cooling pump and control harness

Part 5
Disconnecting the air duct and cooling hoses

Part 6
Removing the thermostats and holding brackets

Part 7
Removing the thermostats control

 
Removal Forward cabin Air Conditioning

Part 8
Disconnecting the cooling hoses

Part 9
Removal control box

Part 10
Capacitor testing

Part 11
Disconnecting the Calpeda pump, AC (Alternative Current) wire
and control box

Part 12
Disconnecting the Compressor and Fan harnesses

Part 13
Removing the thermostats and holding brackets

 
Installation of the Aft cabin Air Conditioning

Part 14
Putting back the thermostat and control box

Part 15
Changing the air duct direction (to later realize it will not fit)

Part 16
Comparing air duct the Aft and Forward cabin

Swapping the fan covers

Part 17
Removing the fan of the Aft unit

Part 18
Removing the fan of the Forward unit

Part 19
Putting back the fan on the new Aft unit

 
Continue Installation of the Aft cabin Air Conditioning

Part 20
Reconnecting the cooling hoses

Part 21
Putting back holding brackets, overflow and thermostat

Part 22
Looking at the control box

Part 23
Reconnecting the Fan harness

Part 24
Reconnecting the Compressor harness

Part 25
Reconnecting the Calpeda, AC (Alternative Current) and control box

Part 26
Reconnecting the Capacitors

Part 27
Closing the control box and attach back to wall

Swapping the control box and attach of the Aft and forward units

Part 28
Swapping the control box and attach of the Aft and forward units

 
Installation of the Forward cabin Air Conditioning

Part 29
Reconnecting the fan assembly

Part 30
Attaching holding brackets

Part 31
Reconnecting the hoses and Thermostat

Part 32
Quick reconnection of the harnesses and Capacitors

Part 33
Testing for leaks

Part 34
Putting back cover for Aft and Forward units