NIKIMAT


Amel Super Maramu 2000
|
Lofrans Tigres Windlass Basic Maintenance Below is the maintenance explanation I followed to service the windlass. I like it simplicity as it used "item number" to explain what to remove. Lofrans maintenance simplified (.jpg 1.1 mb)
Additionally you might be interested in: Lofrans Tigres Parts Breakdown (2013) (.pdf 133 kb) Lofrans Tigres Parts Breakdown (2001) (.jpg 130 kb) Lofrans Master Parts List (.pdf 112 kb)
Lofrans installation, operation manual and maintenance (.jpg 1.2 mb) Lofrans Tigres (and other) installation, operation & maintenance program (.pdf 1.0 mb) Lofrans Oil Capacity (.pdf 86 kb)
|
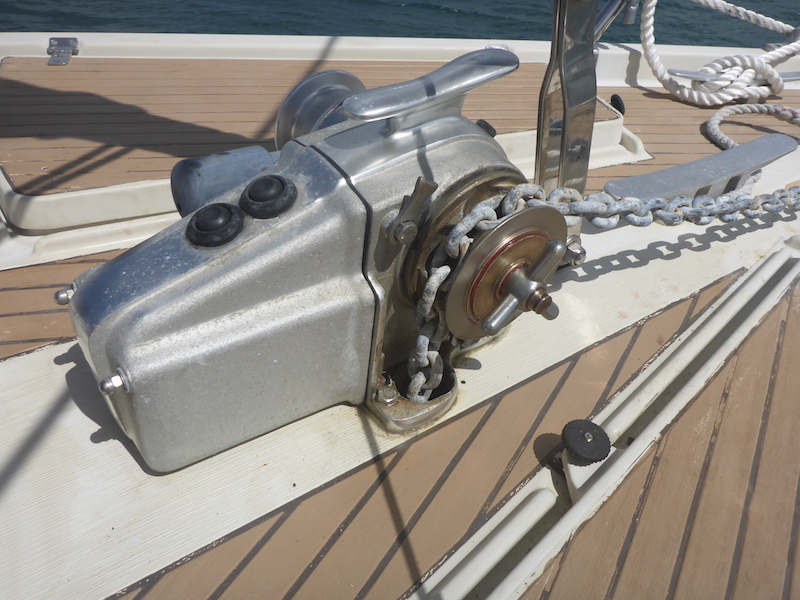
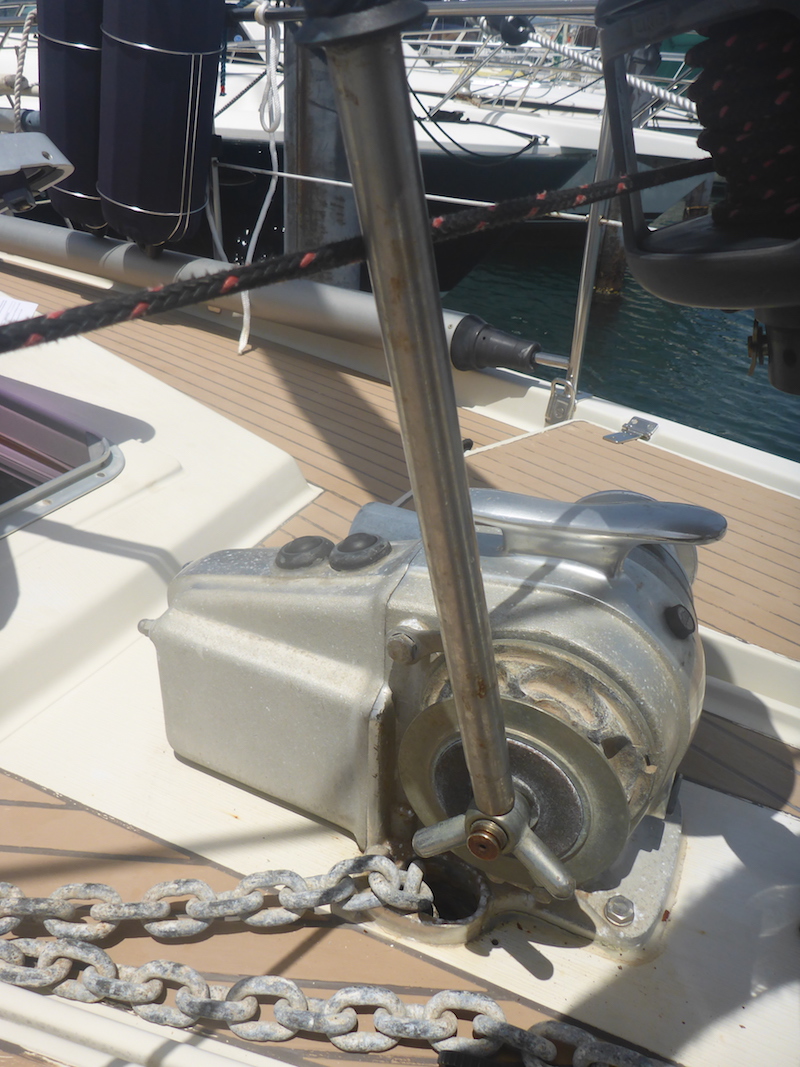
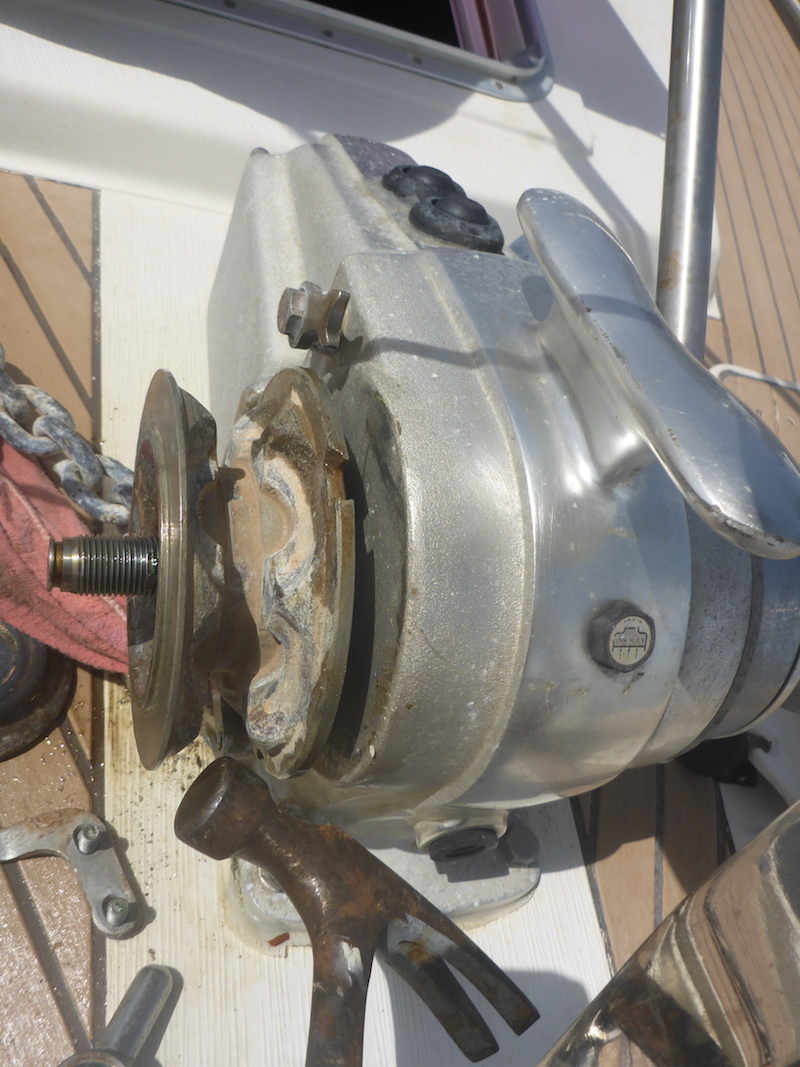
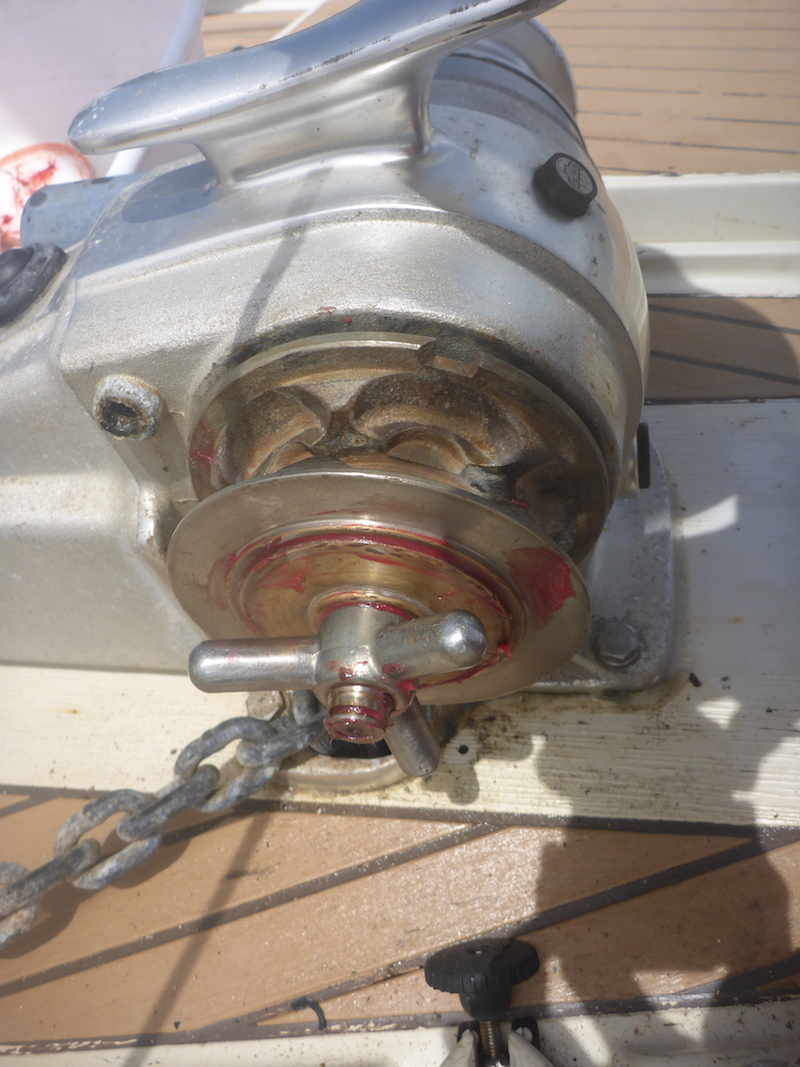
Remove the chain of the gipsy and secure the chain.
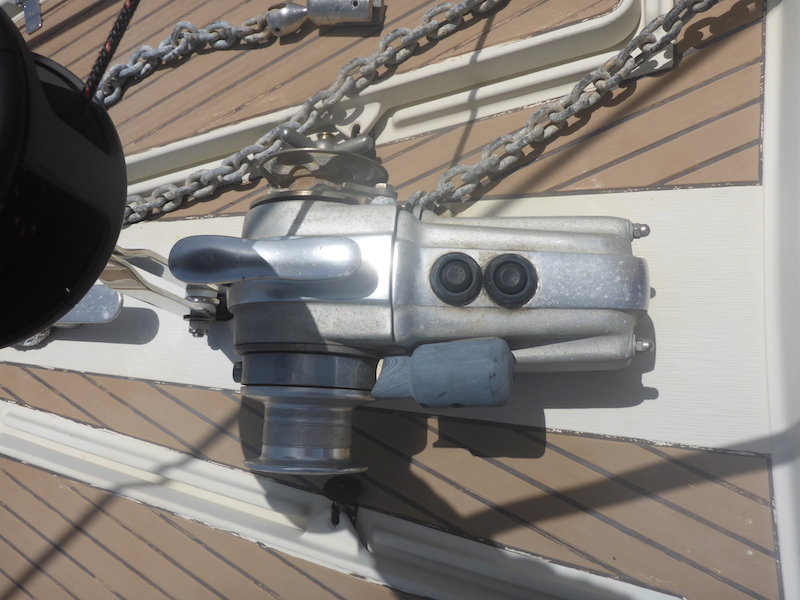
If necessary use a 17 mm socket to lock the gipsy stopper into a gipsy border socket
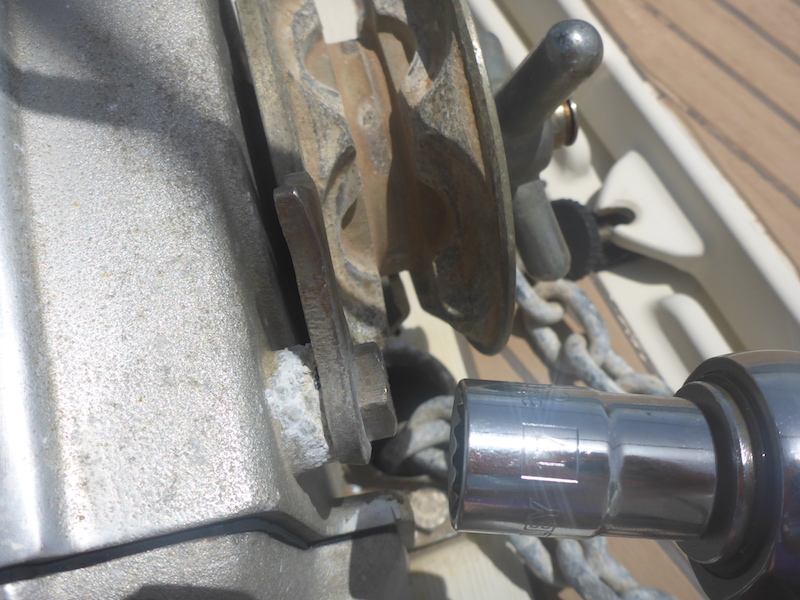
gipsy stopper is now in a gipsy border socket
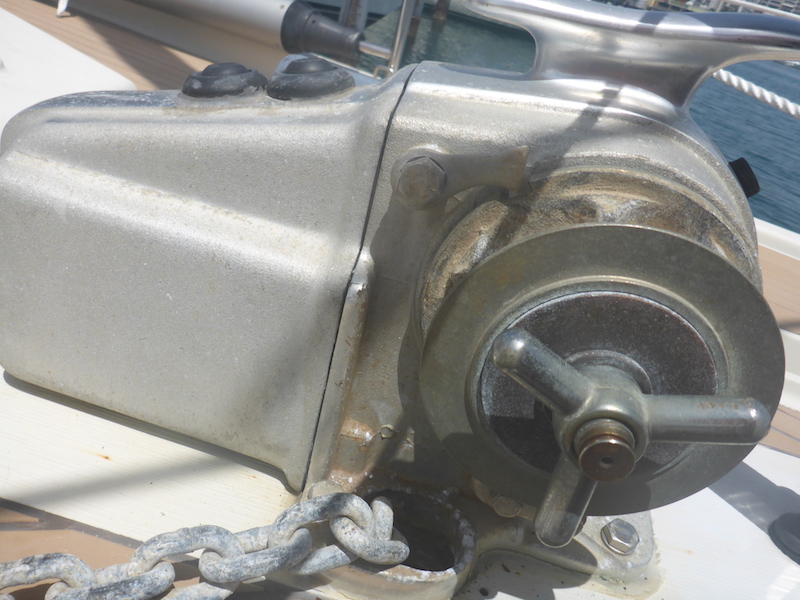
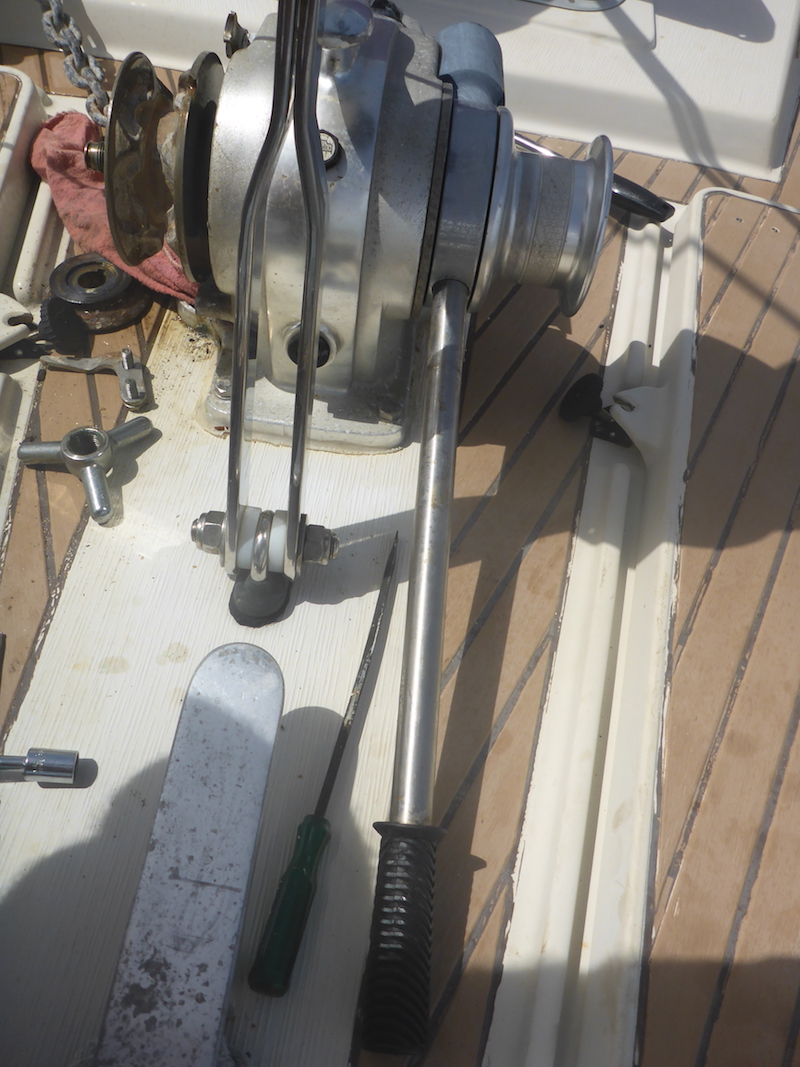
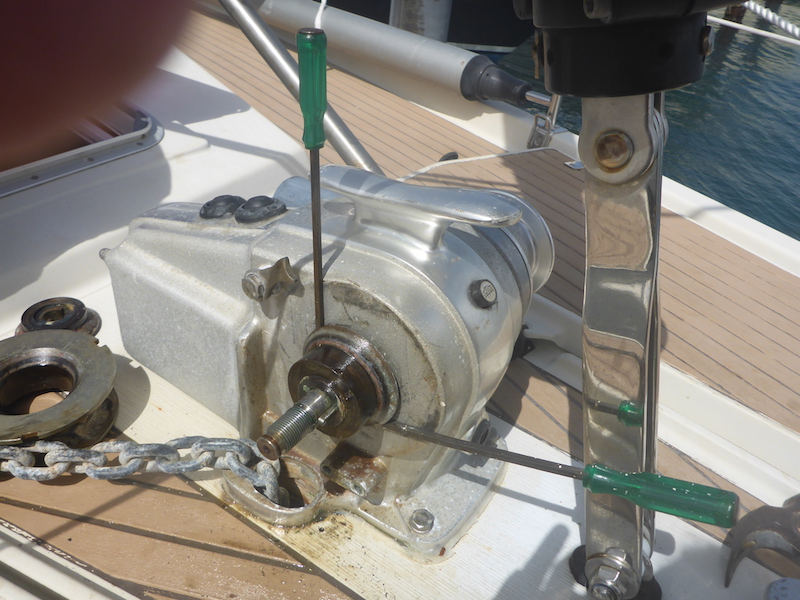
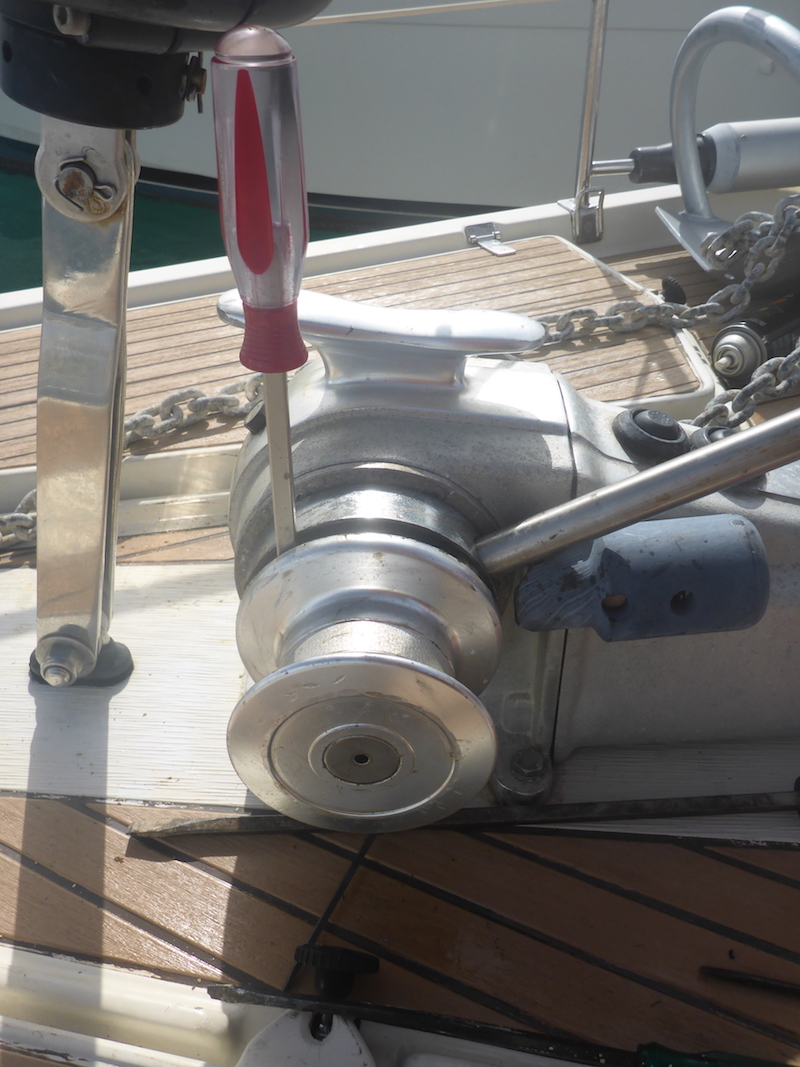
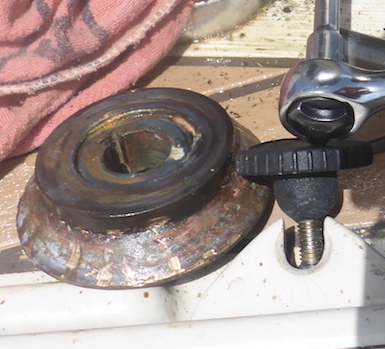
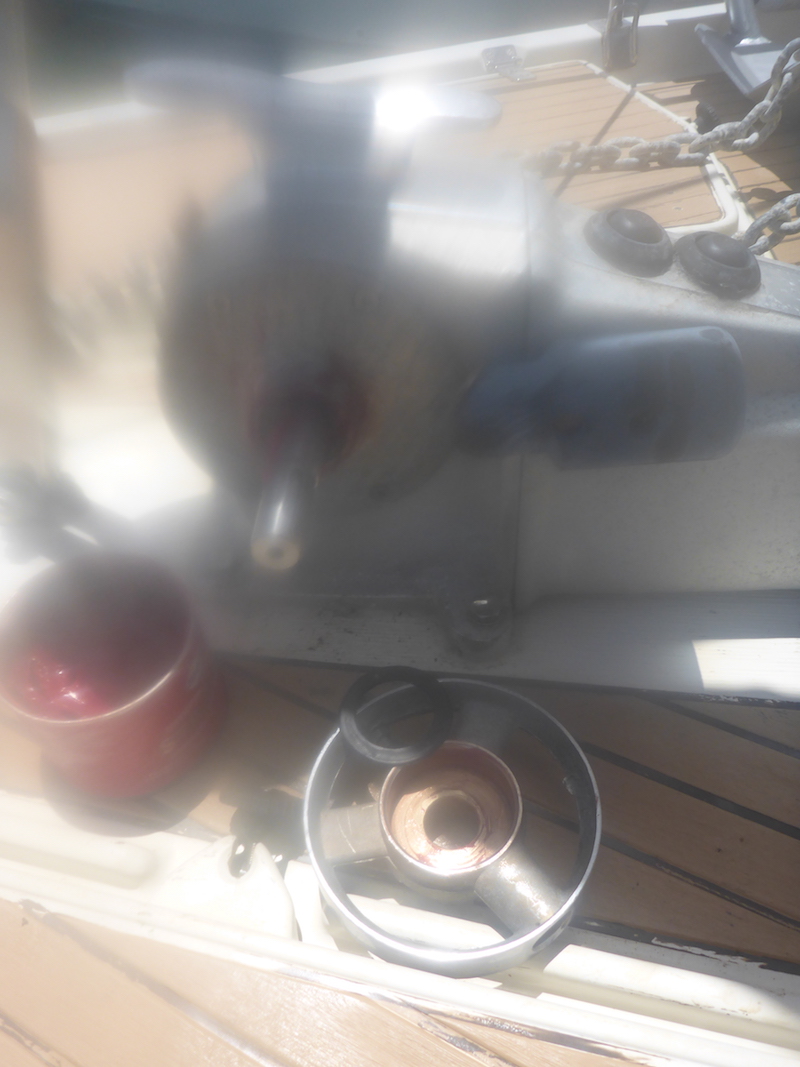
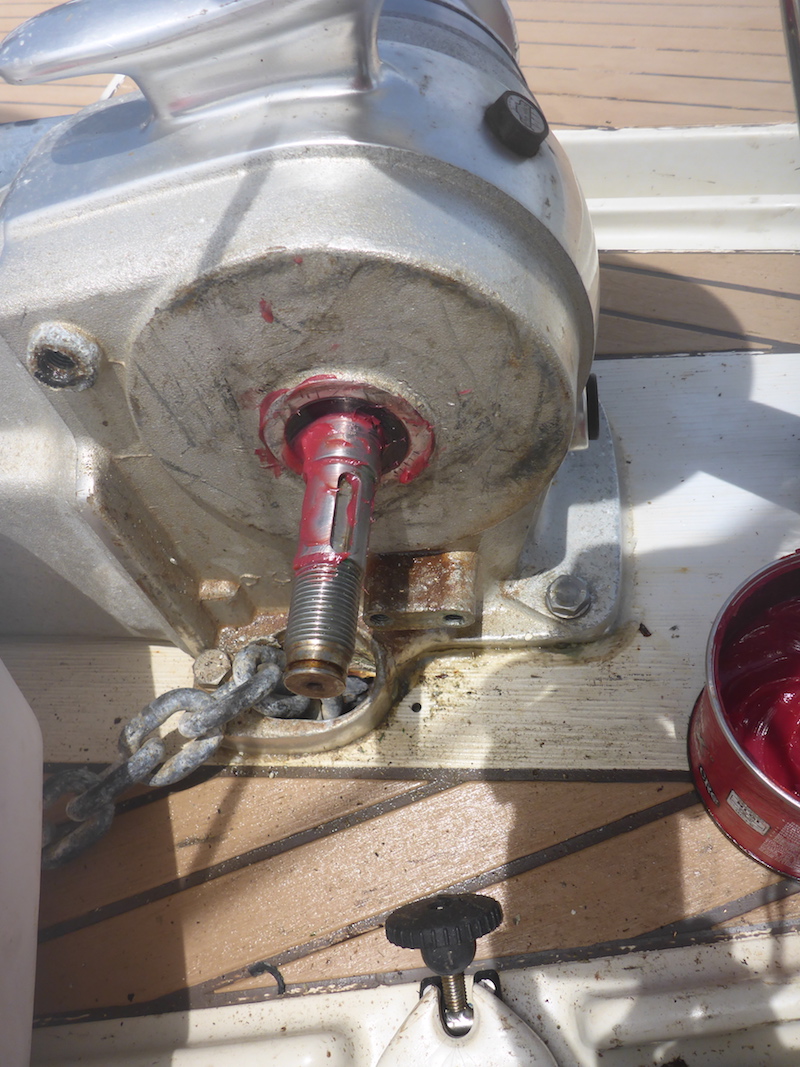
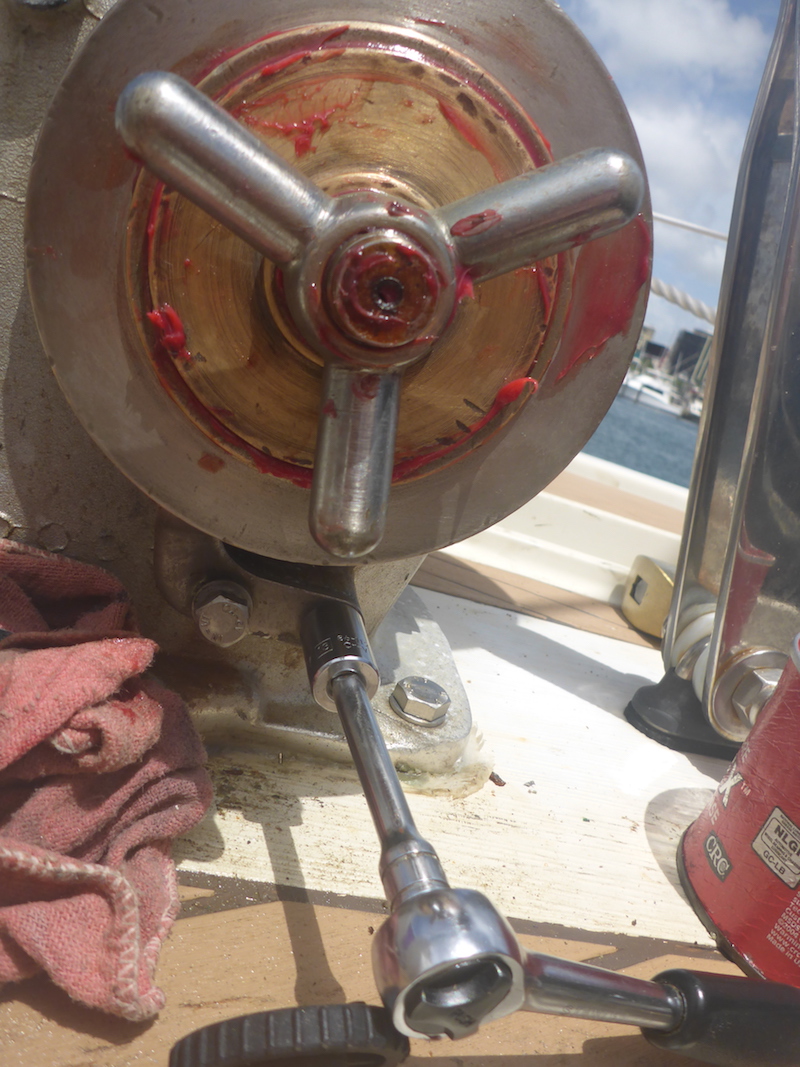
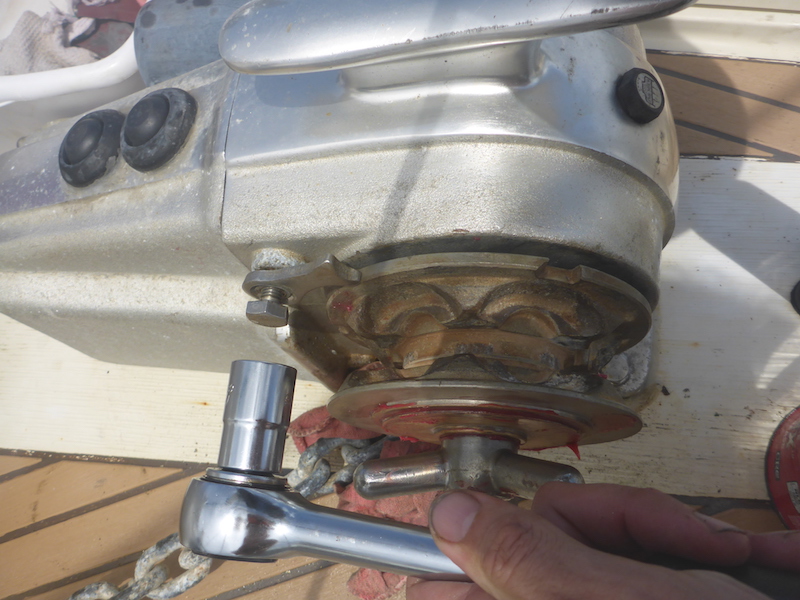
using the emergency handle unscrew the wingnut
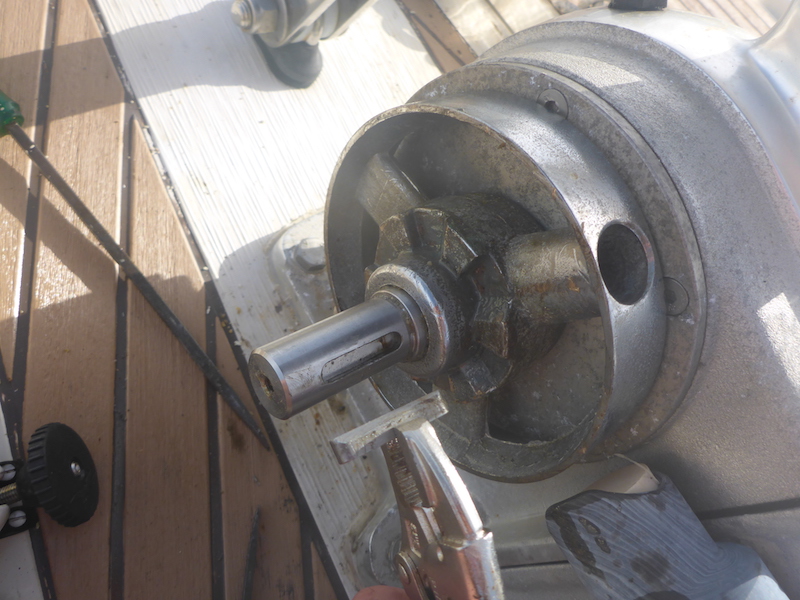
extract the shove gipsy
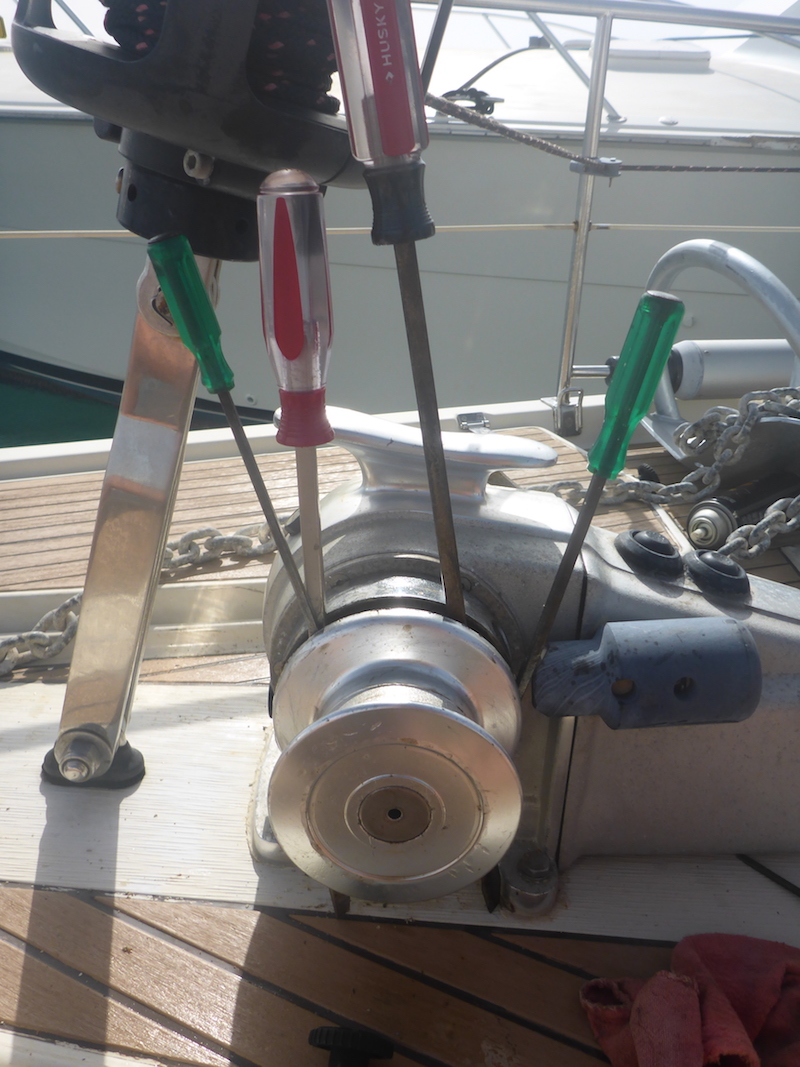
in my case it was difficult as I had not grease the windlass for the last 3 years...
It was time consuming and had to use several screw drivers
I suspect it will be a lot easier if I do it every 3 to 6 months
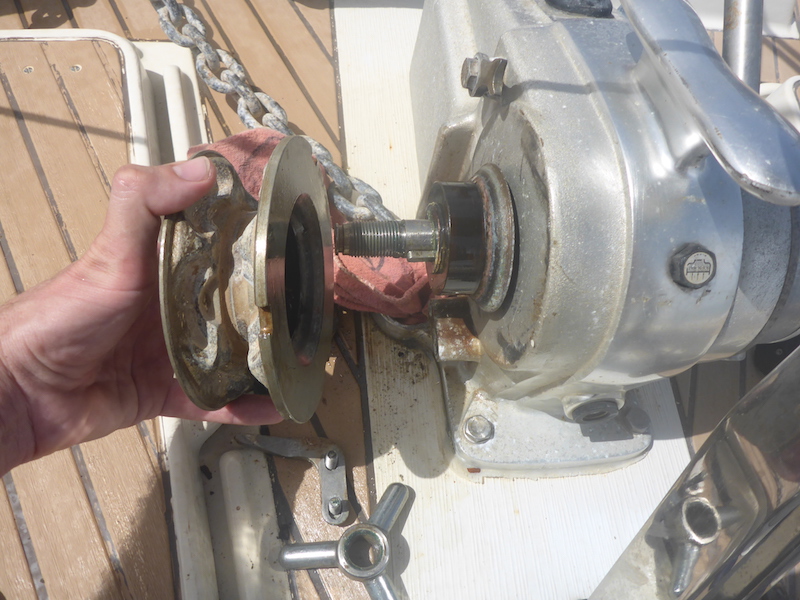
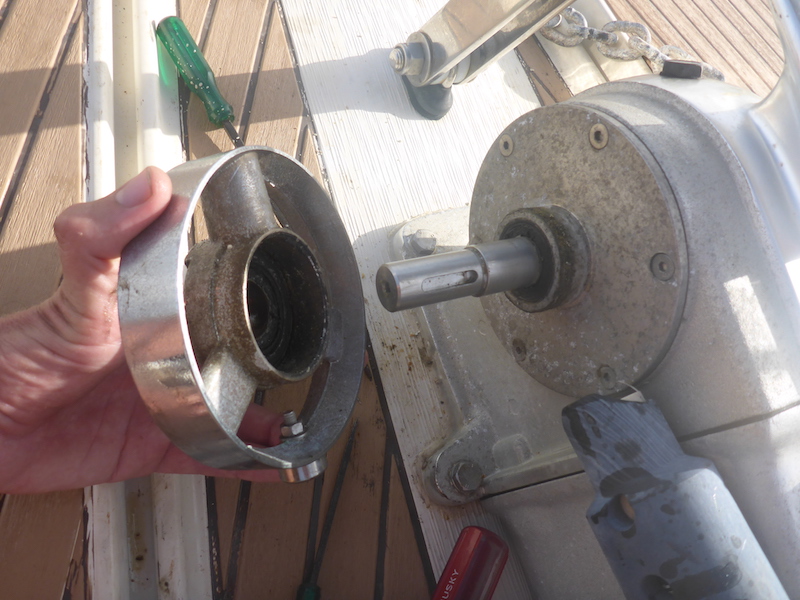
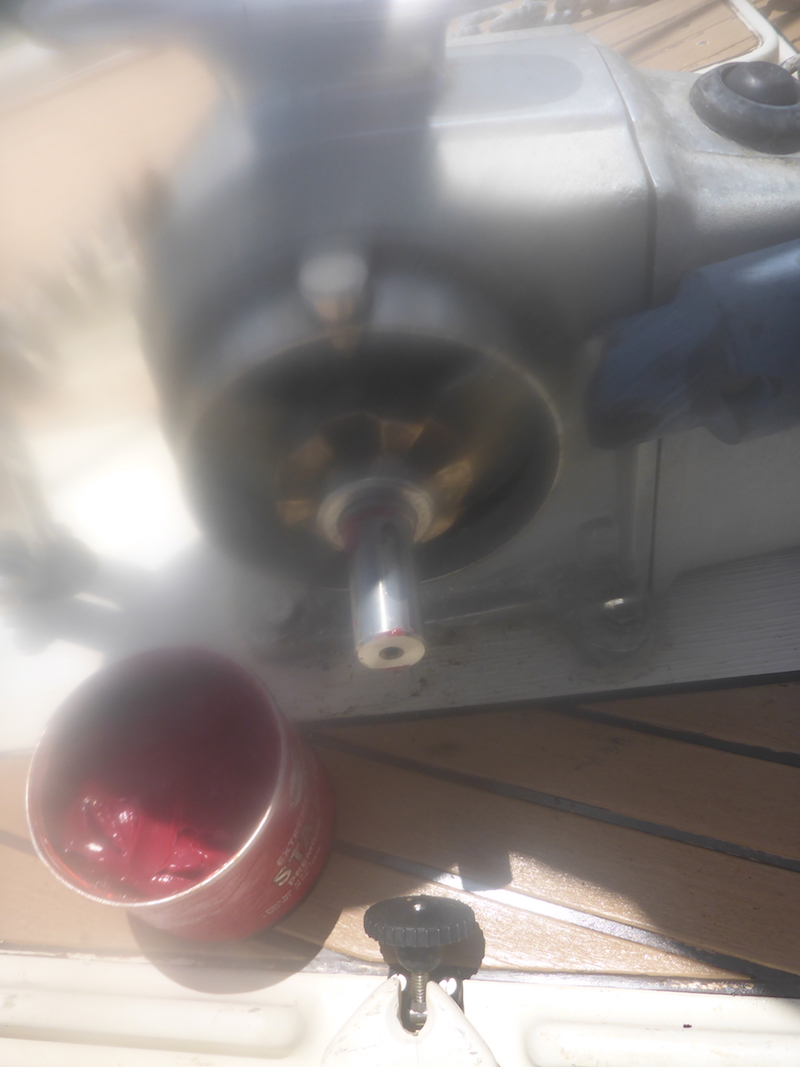
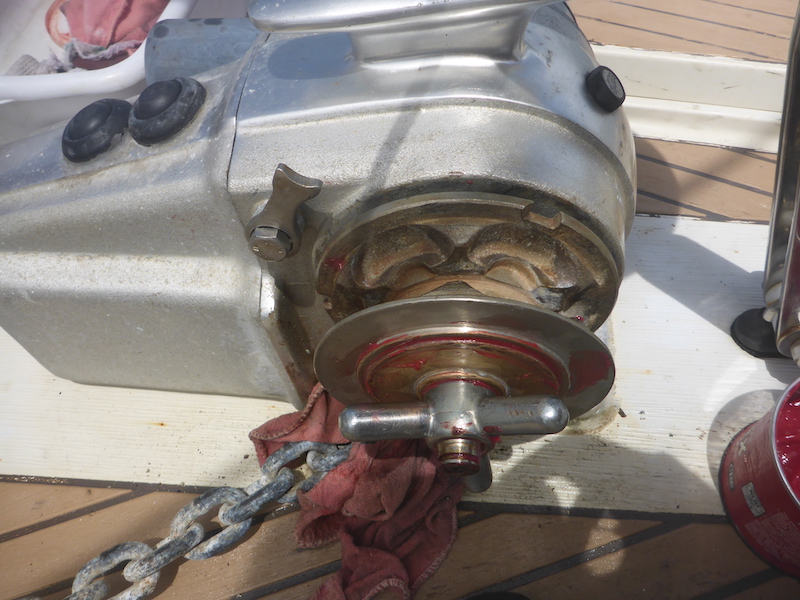
finally the shove gipsy is out

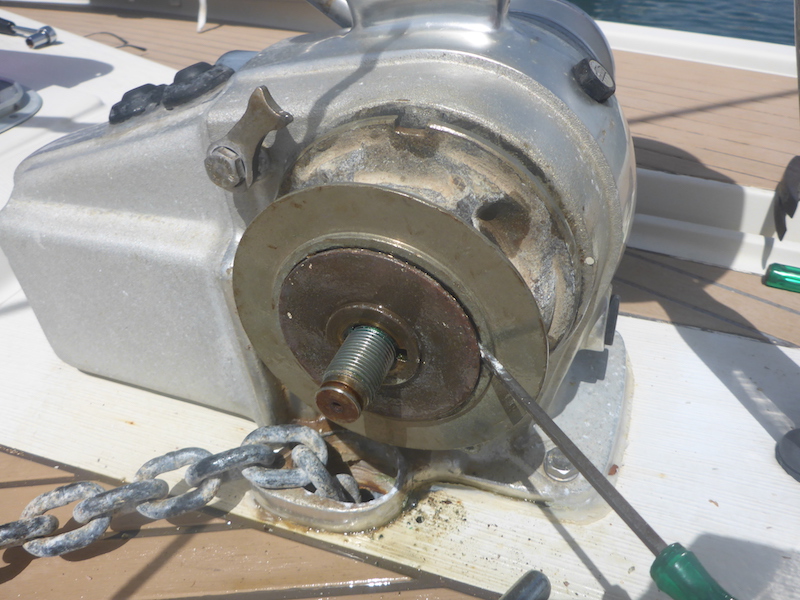
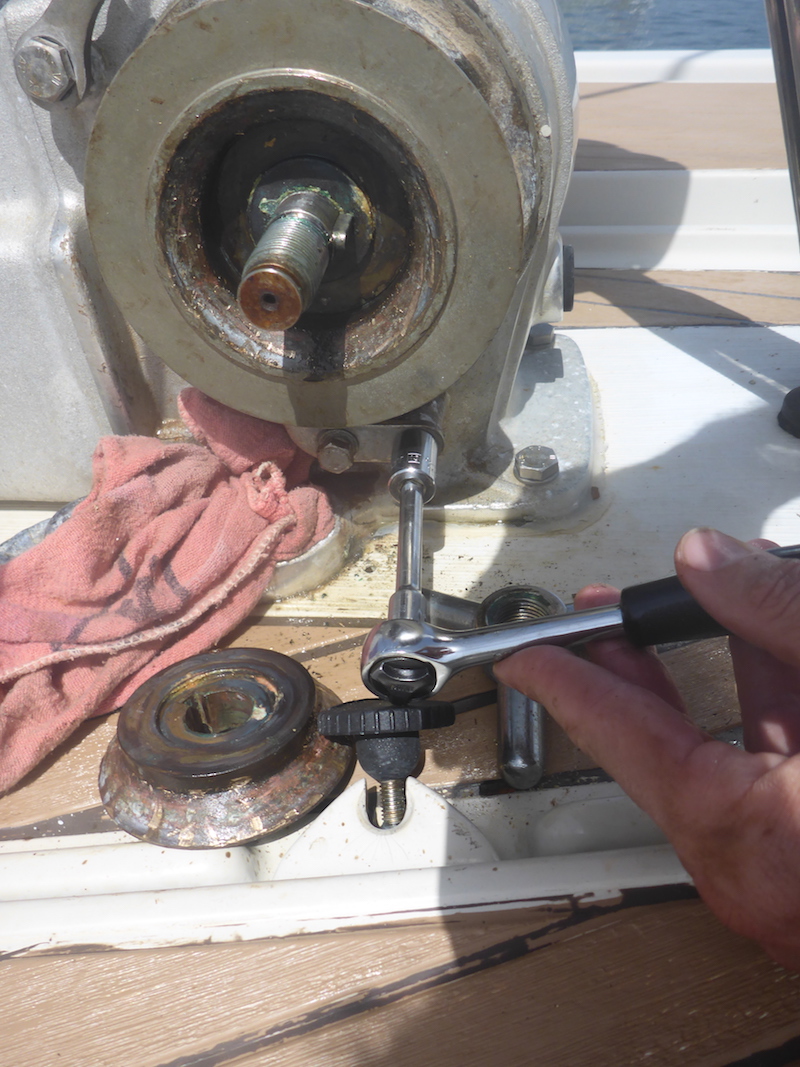
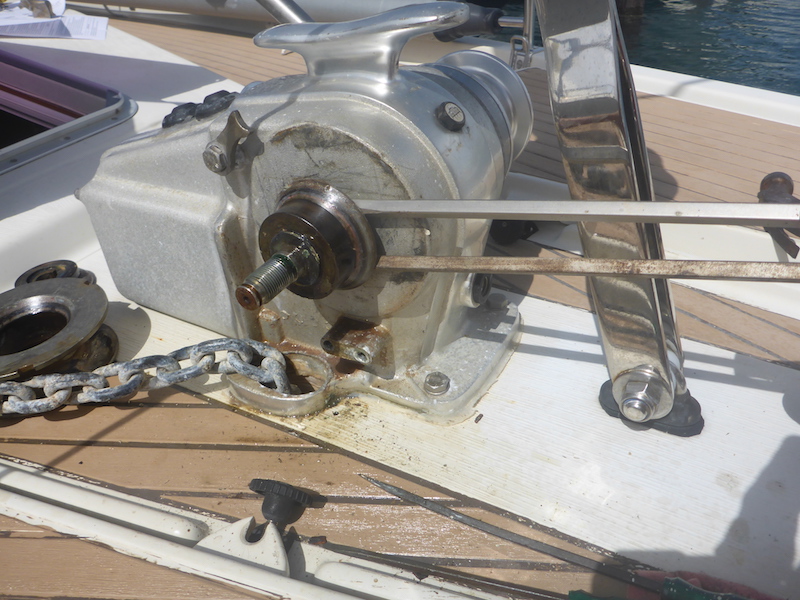
using a 13 mm socket unscrew bolt, remove washer and stripper
Note: I put a rag in the hole where the chain goes to prevent parts to fall in
bolt and stripper out
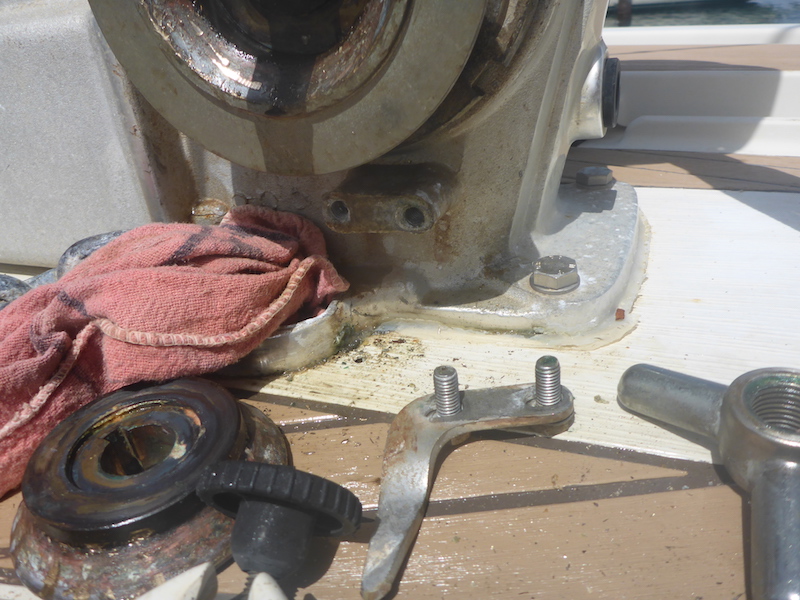
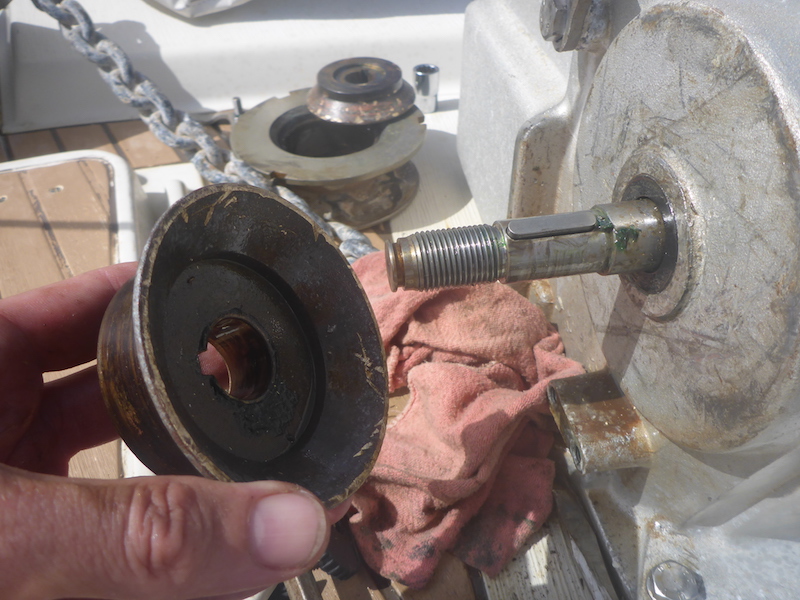
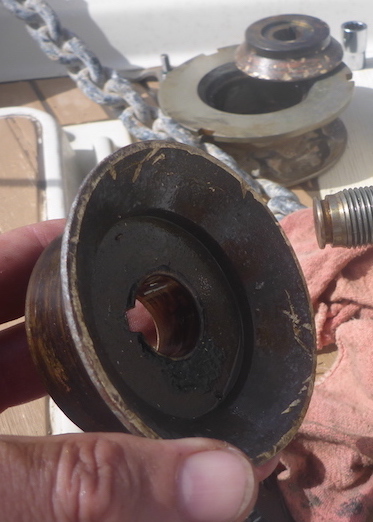
remove the gipsy/chain wheel
in my case it was difficult and time consuming
had to use long screw driver as well as hammer to slowly wedge it out
I suspect it will be a lot easier if I grease it every 3 to 6 months
I used the emergency handle to rotate the gipsy/chain wheel
then use screw drivers and hammer
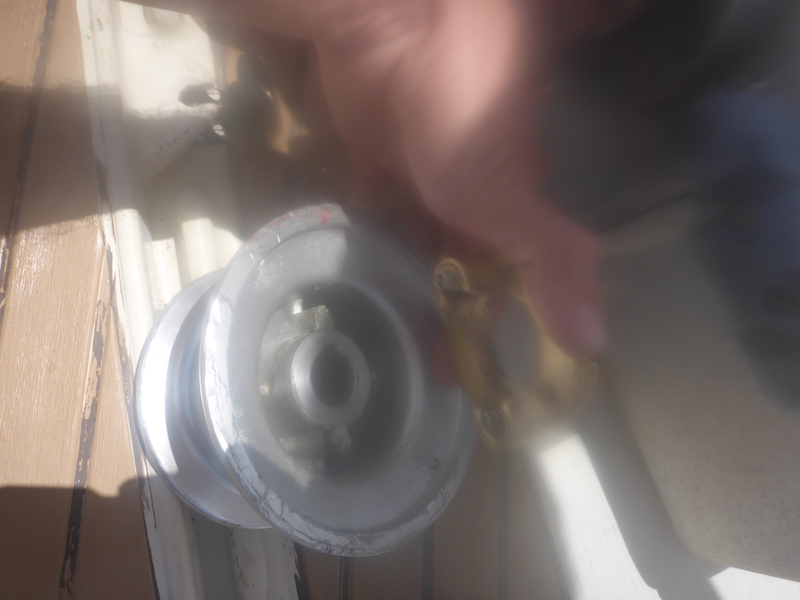
gipsy/chain wheel is extracted
next is the gipsy holder to extract
During the extracting of the various parts, I used a lots penetrating oil (I used ZEP 45)
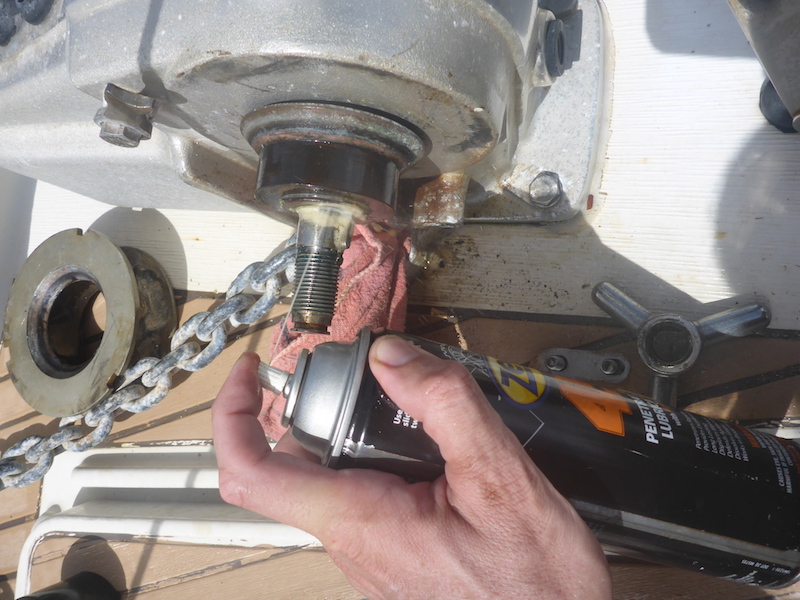
screw drivers as wedge
bigger screw drivers
the gipsy holder is out
Now the port side:
Using a 10 mm socket remove the bold
I was not able to remove the washer as the maintenance says
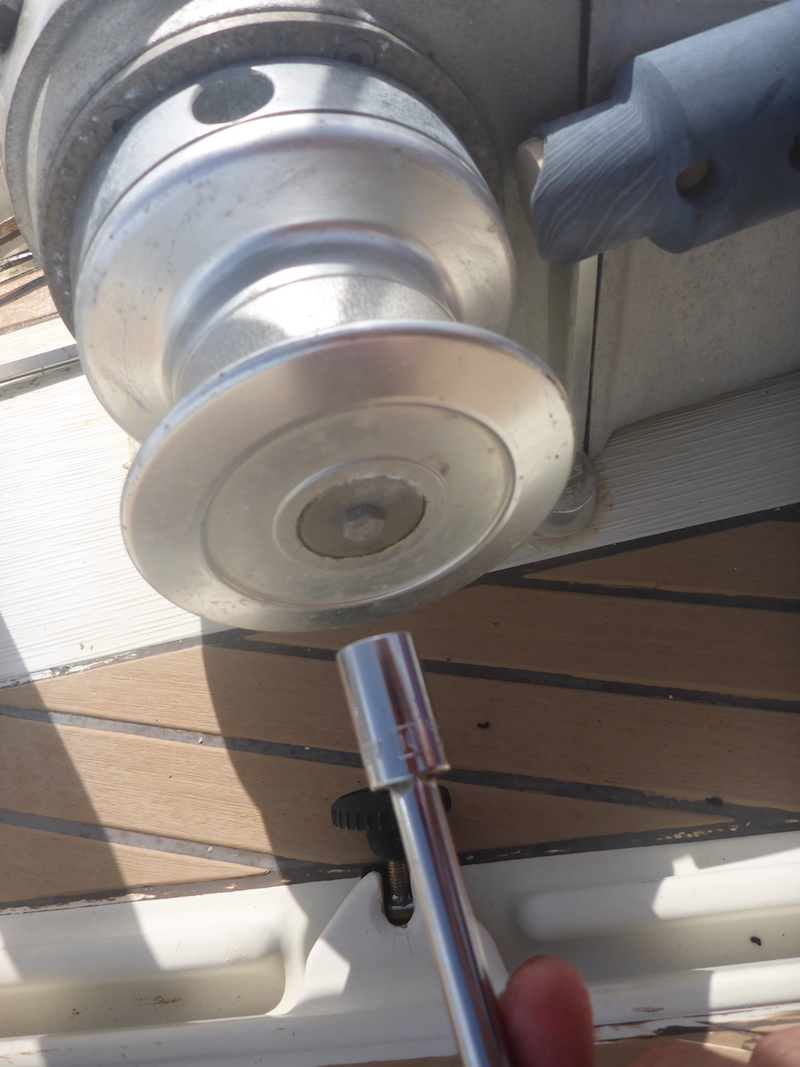
using screw driver as wedge and use the emergency handle to rotate the drum
more screw drivers
now the drum is out
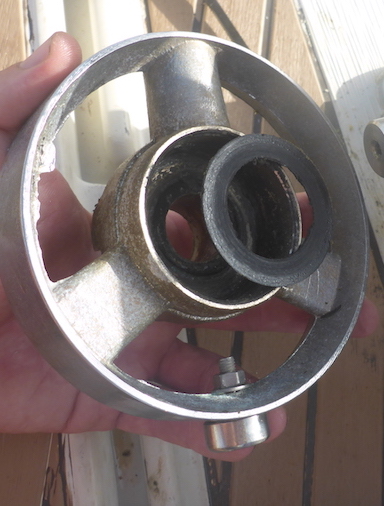
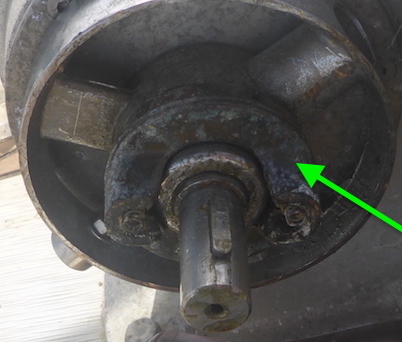
I forgot to take a picture of the removal of the emergency wheel clutch plate (green arrow)
it comes with 2 small spring on it
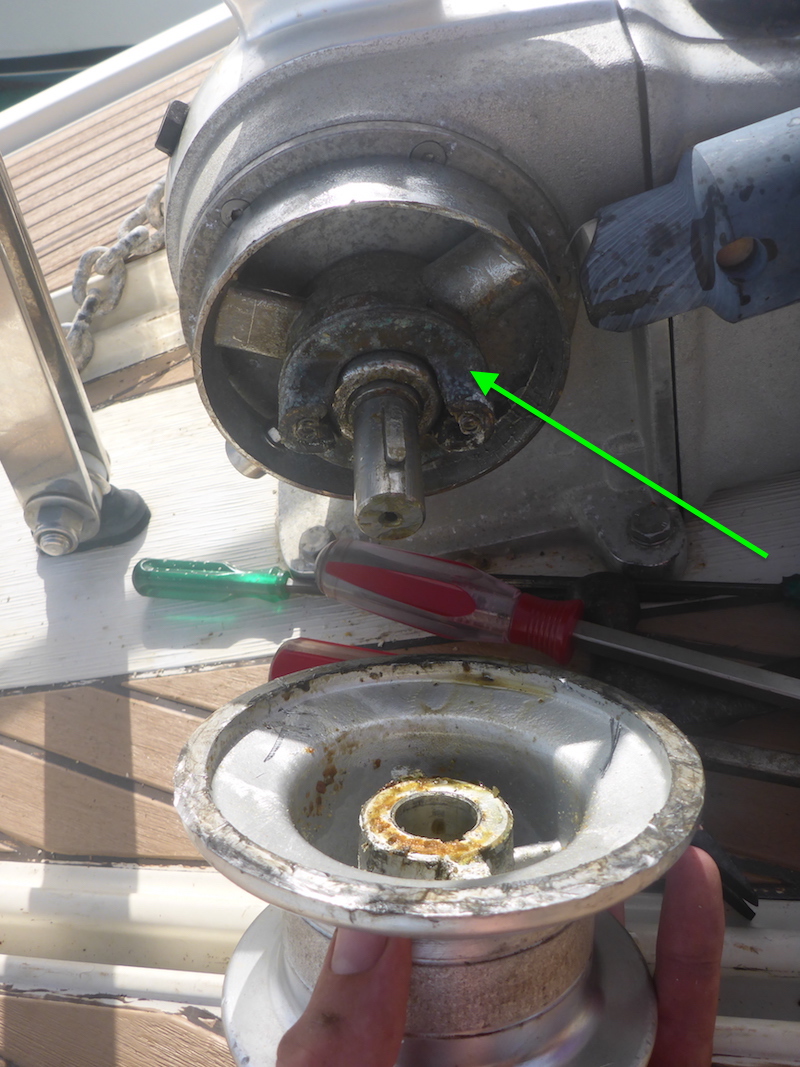
and I can remove the washer as well
using Vise Grips I removed the key from the main shaft
the manual emergency wheel was easy to remove
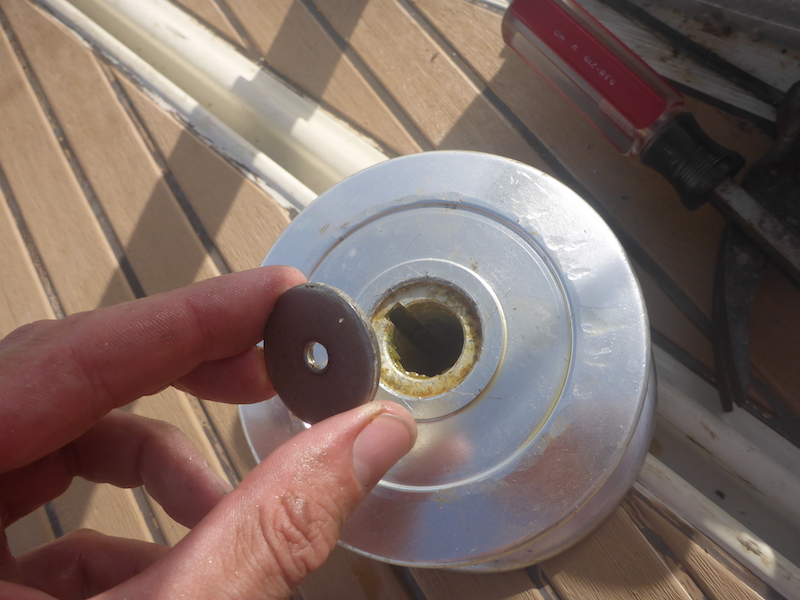
note the plastic washer

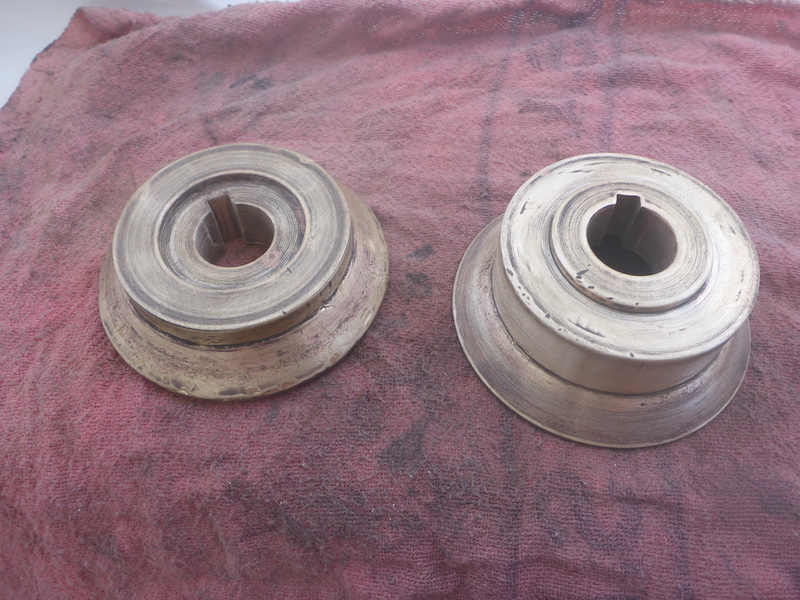
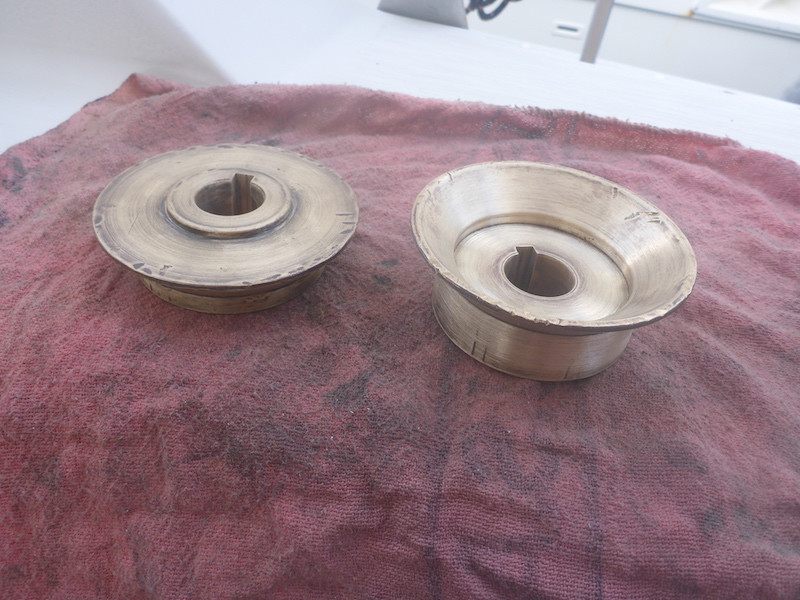
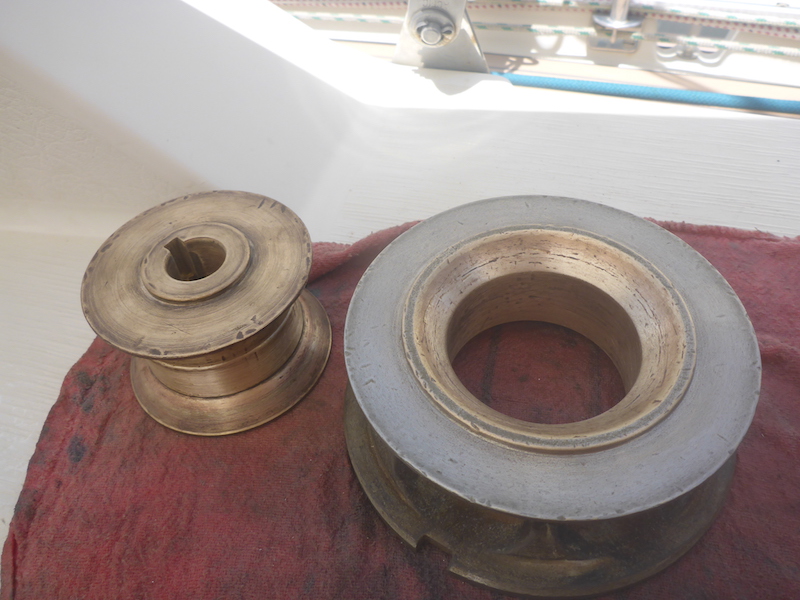
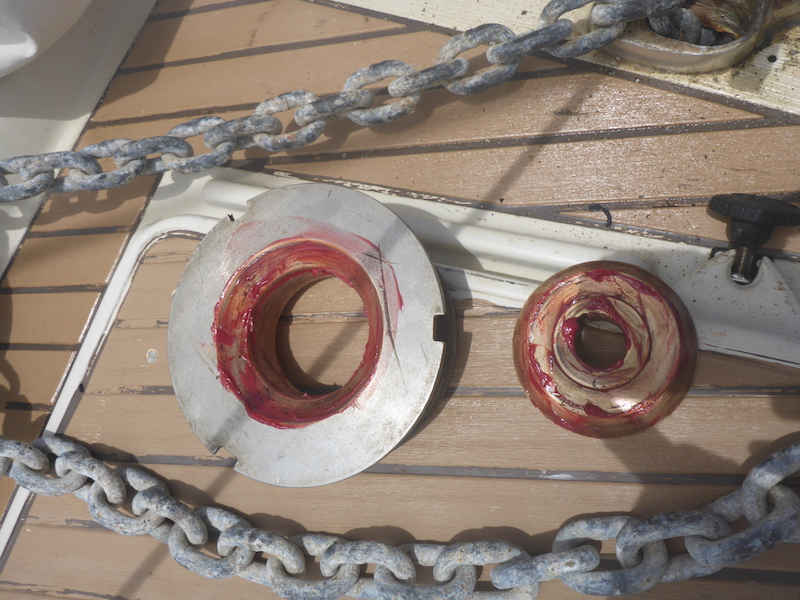
Clean the Shove gipsy and gipsy holder
|
|
|
after cleaning
now cleaning the gipsy / chain wheel
now cleaning emergency wheel clutch plate and springs

|
|
now cleaning the manual emergency wheel
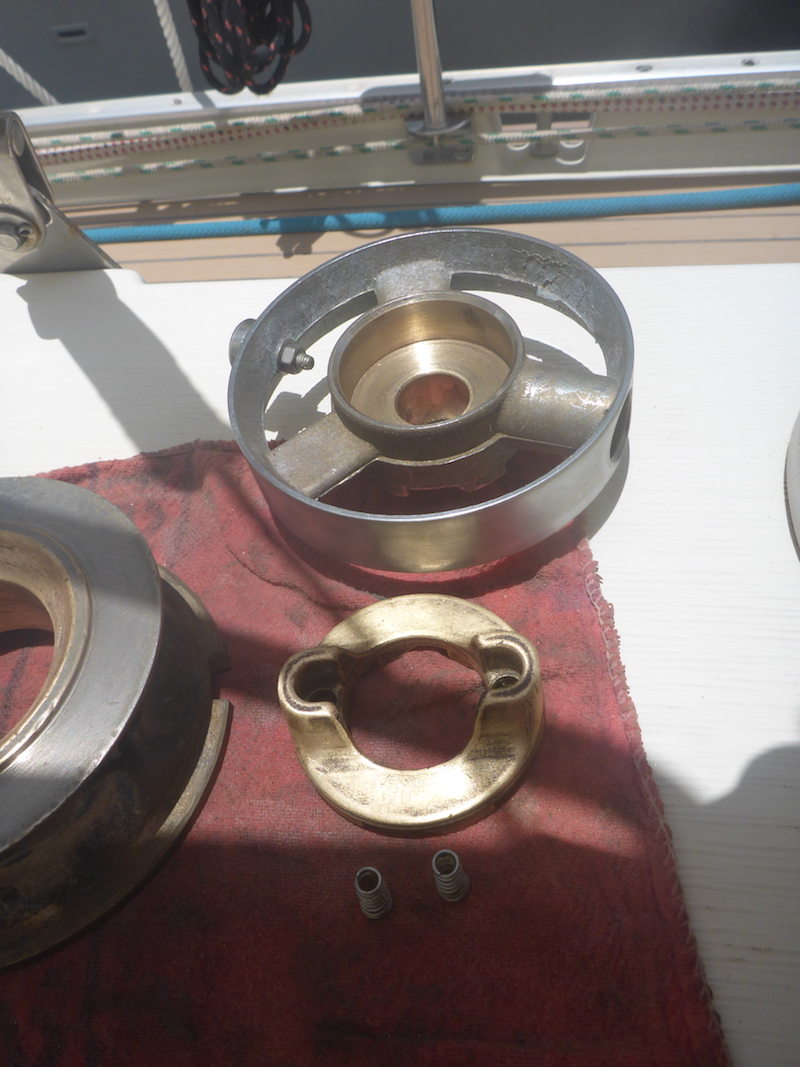
both side of the manual emergency wheel and emergency wheel clutch plate and springs
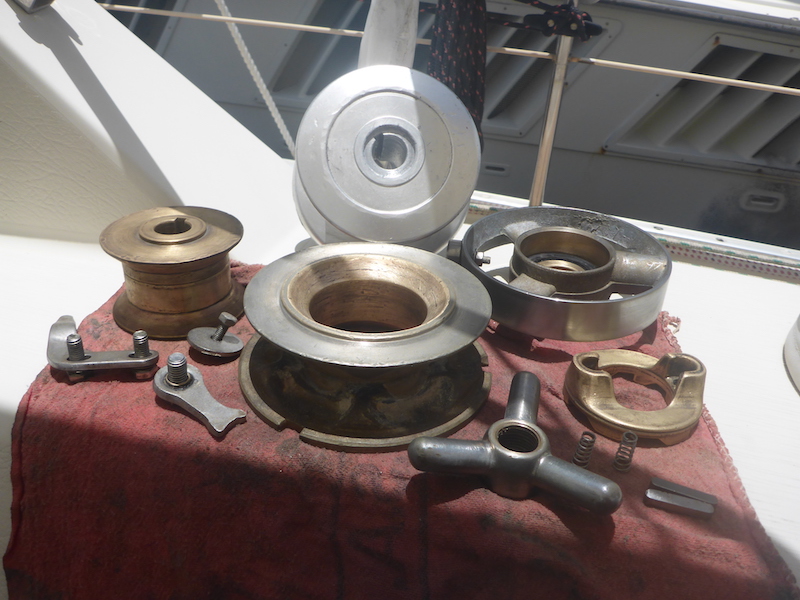
All clean
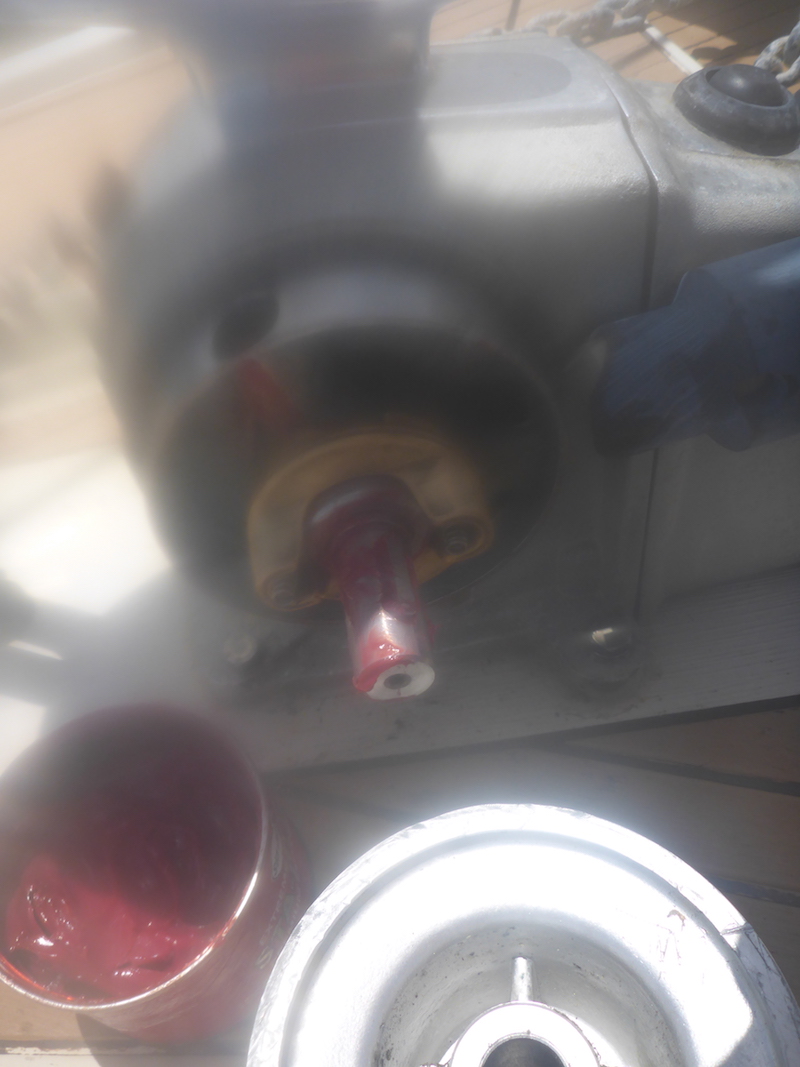
Sorry about the picture: I put marine grease on the main shaft
I also put grease on the manual emergency wheel to hold it washer
put back the manual emergency wheel
put back the key on the main shaft
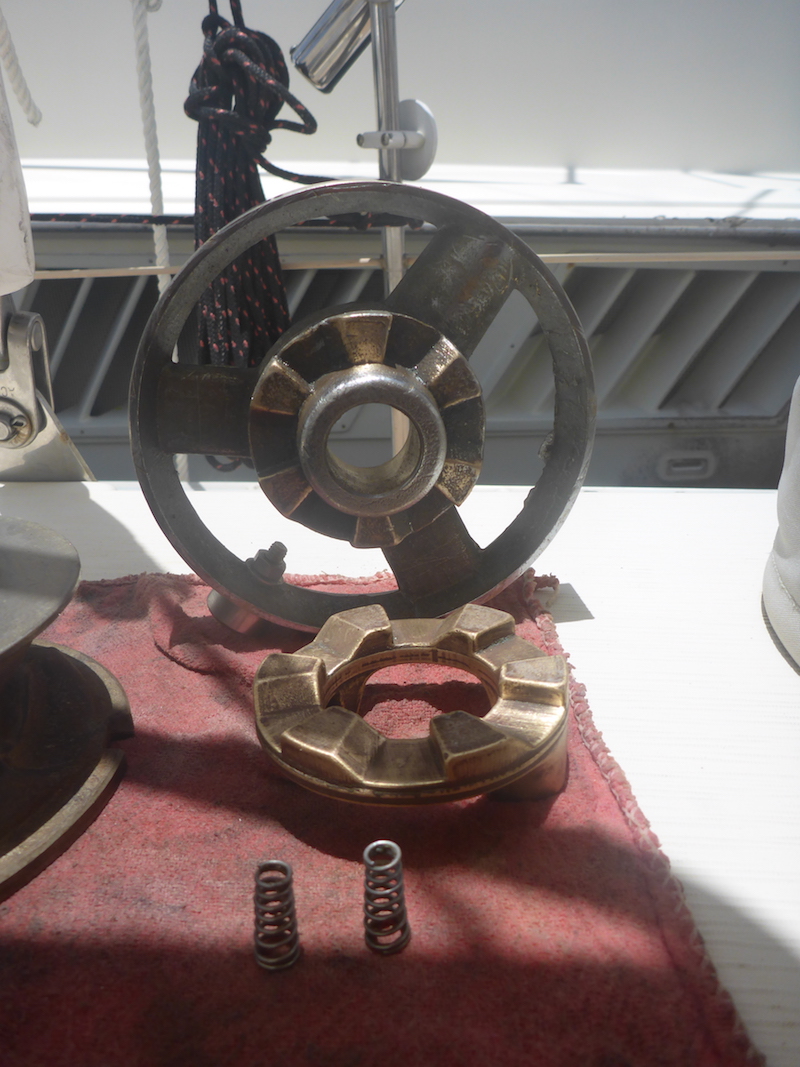
look carefully at the emergency wheel clutch plate and the drum
the spring must position on the matching part on the drum
putting back the emergency wheel clutch plate, then the drum (making sure the spring are at the right position)
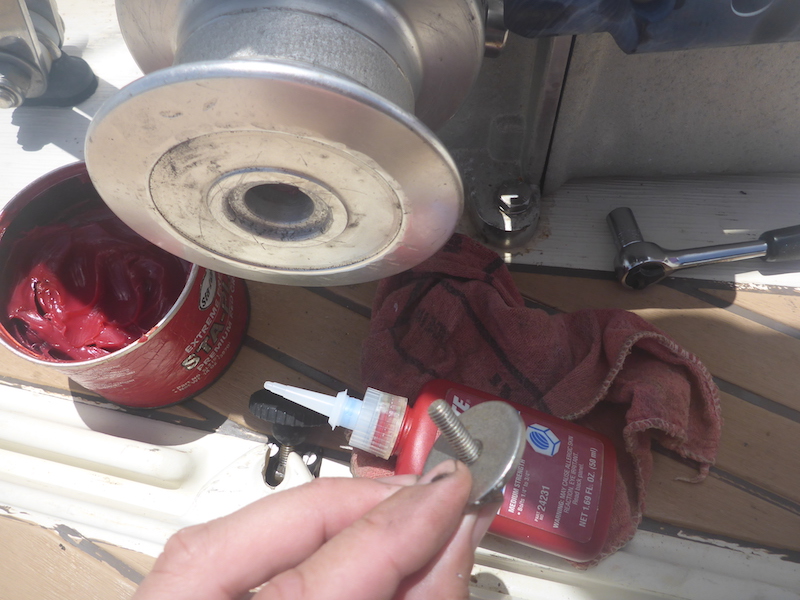
I used locktite to secure the bold in place
Port side done
I made sure the emergency handle worked as supposed
I suggest making a full turn (so that the location of the key on the main shaft will be position up)
grease, note the location for the key is up (much easier to put back that way
also note that I forgot cover the hole where the chain goes, thankfully nothing fall in it
put the key back on the main shaft

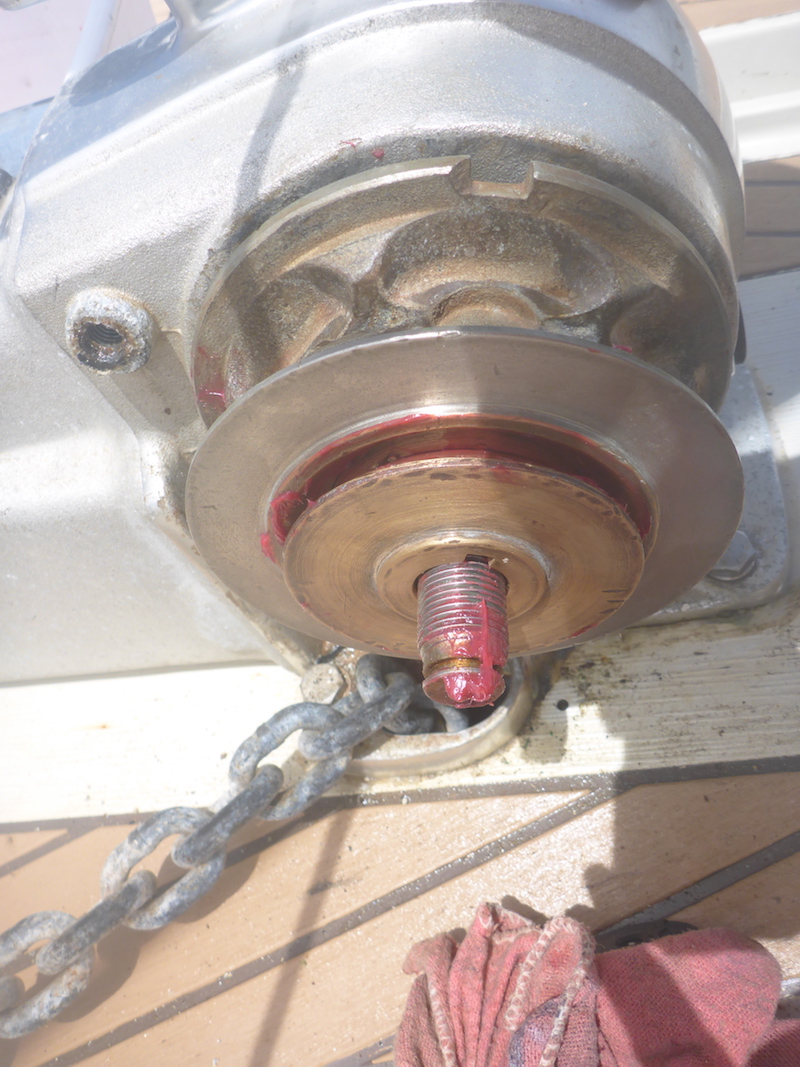
grease the gipsy / chain wheel and the gipsy holder
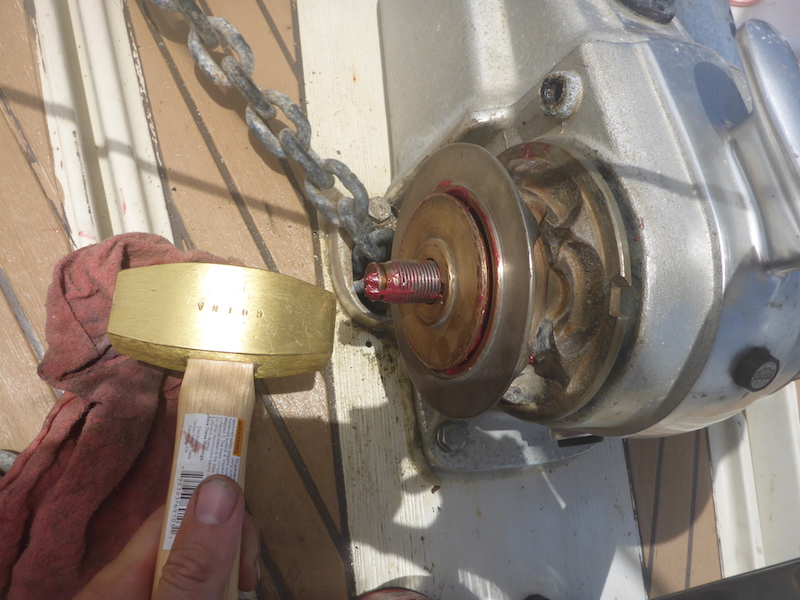
putting them together gently, I used a bronze hammer
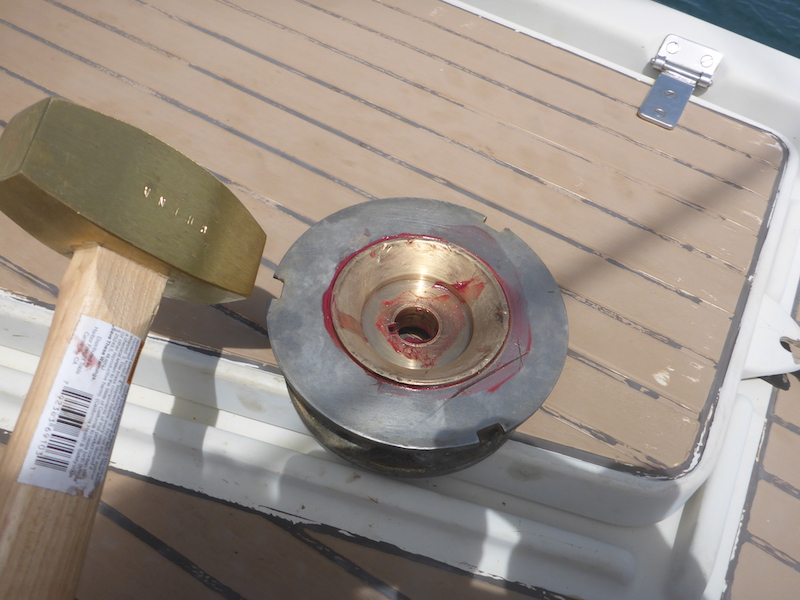
putting back the gipsy / chain wheel and the gipsy holder on the shaft
add more grease
note: in this picture I cover with a rag the hole where the chain goes.
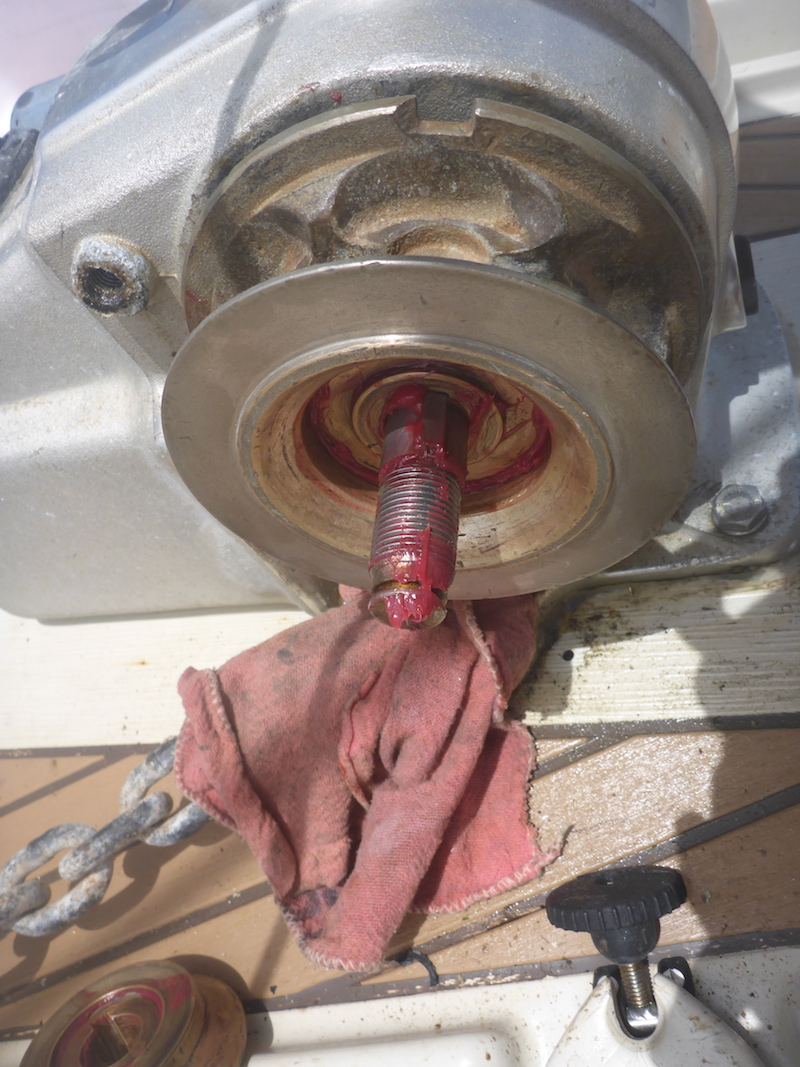
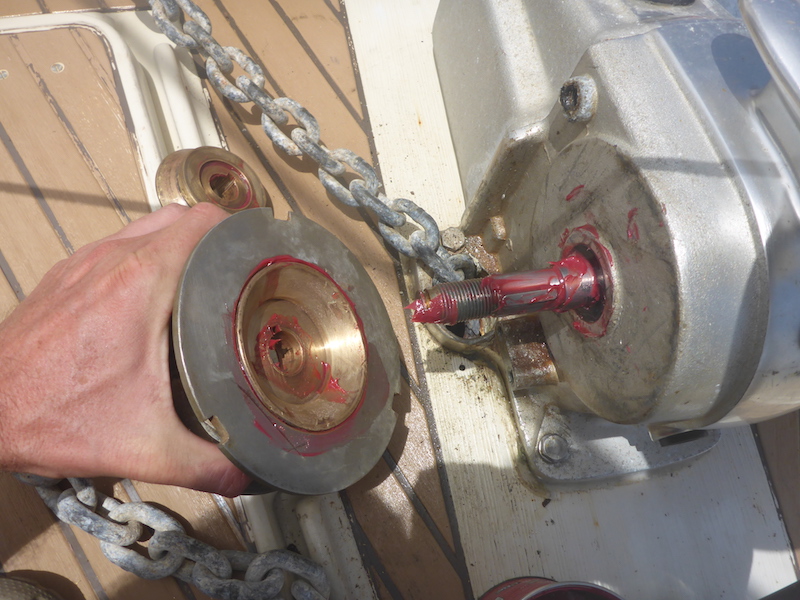
grease on the shove gipsy
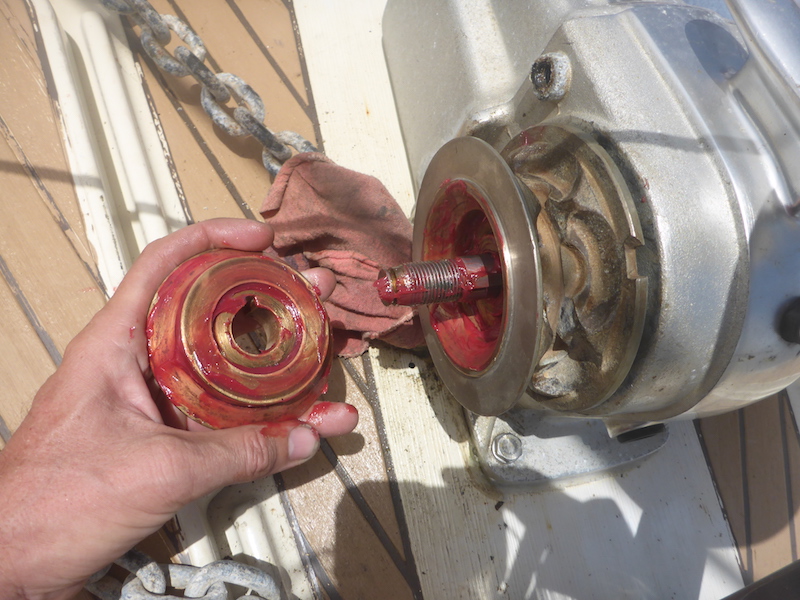
lining up with the key on the shaft
gentle push in using the bronze hammer
Note that I could have use a PVC pipe around the main shaft for a more even push
tight the wingnut
putting back the bolts, washer and stripper
putting back the gipsy stopper
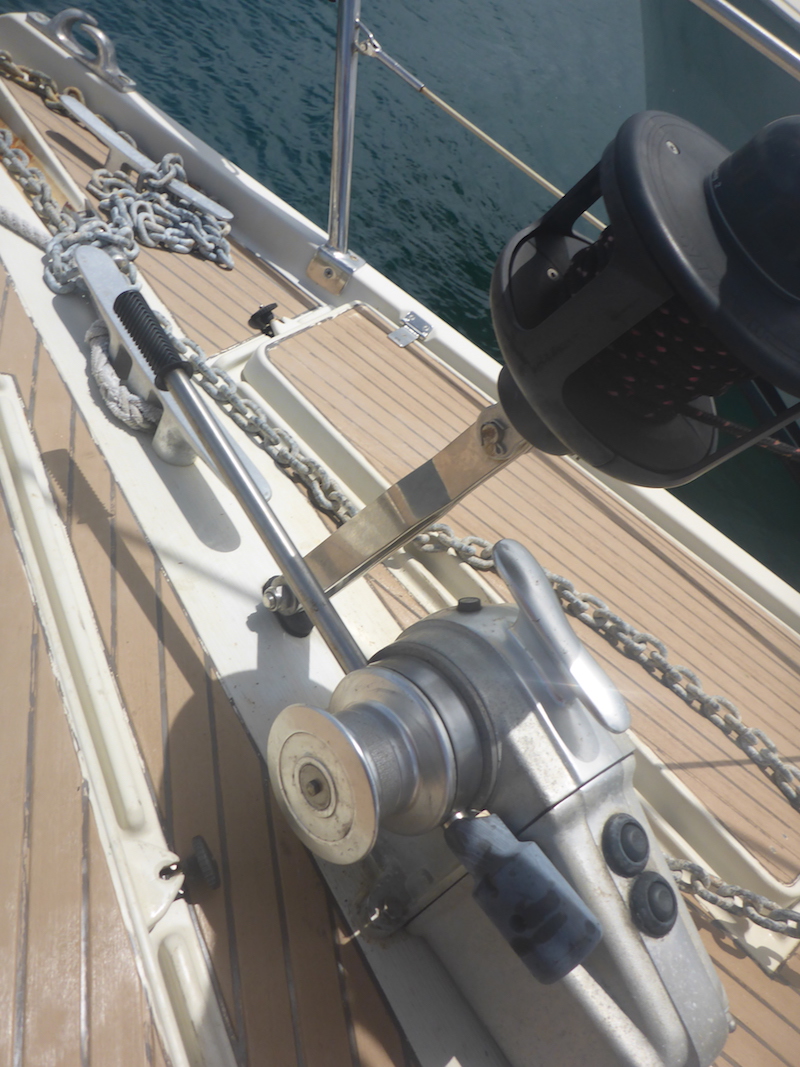
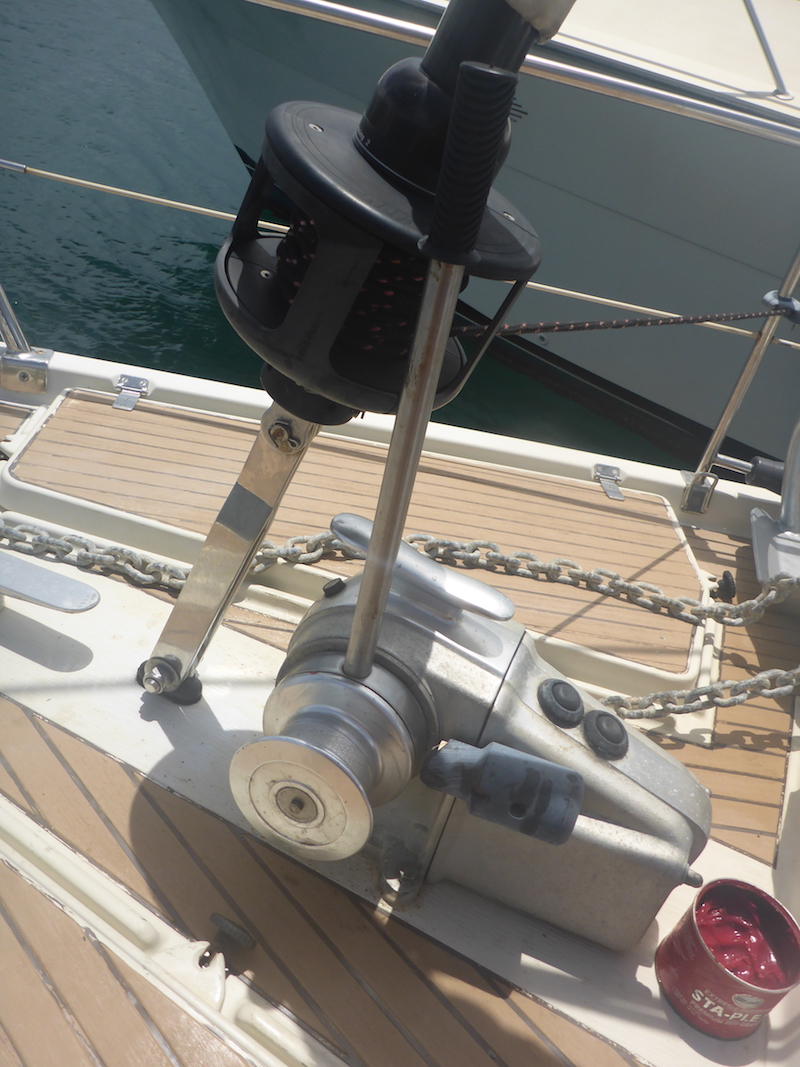
clean
now all done